¿Cómo migrar de Drupal a WordPress en 2024?

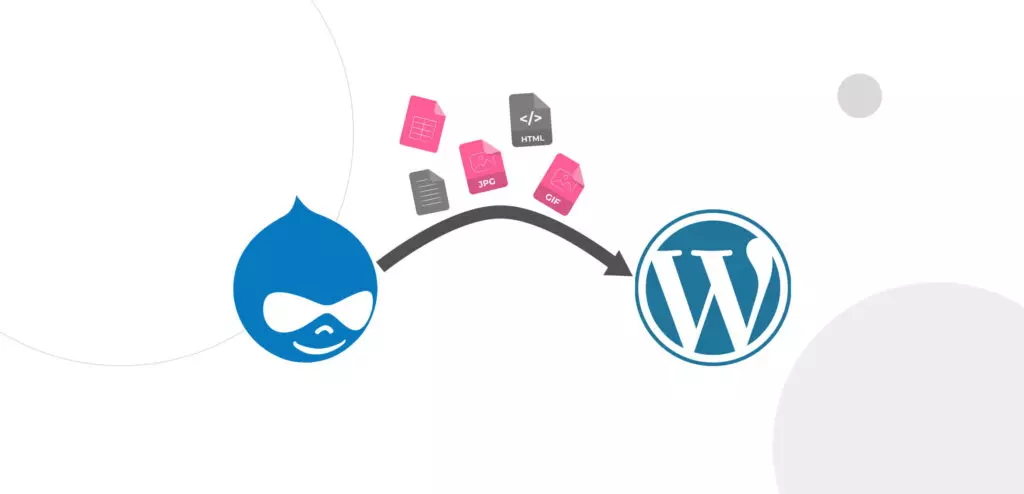
Drupal es uno de los CMS más populares del mundo, conocido por su escalabilidad y seguridad. Sin embargo, la migración de Drupal a WordPress es común, especialmente considerando que WordPress es mucho más amigable para el usuario.
Este artículo es una guía paso a paso para migrar de Drupal a WordPress, de modo que puedas encontrar un nuevo hogar para tu sitio web y reanudar actividades lo antes posible. Comencemos.
¿Por qué migrar de Drupal a WordPress?

Drupal es un CMS muy potente, seguro y escalable que gestiona aproximadamente el 13% de los 10,000 sitios web más importantes del mundo. ¡Es impresionante!
Pero hay que decir que Drupal es utilizado mayormente por desarrolladores profesionales en lugar de la gran comunidad no técnica de WordPress. Hay muchos desarrolladores profesionales de WordPress, pero uno de los puntos fuertes de la plataforma es su facilidad de uso y accesibilidad para principiantes. Drupal ha avanzado en volverse más accesible, pero aún hay una barrera técnica considerable para hacer las mismas cosas que se pueden en WordPress.
Por esta razón, WordPress puede ser más adecuado para propietarios de sitios que buscan una experiencia de gestión más sencilla. Algunas de las razones por las que los dueños de sitios pueden querer cambiar a WordPress incluyen las siguientes:
- WordPress tiene una comunidad y un mercado de plugins más grandes.
- WordPress ofrece muchas más opciones de temas.
- Drupal puede ser muy complejo al actualizar.
- Drupal es más adecuado para grandes sitios a nivel empresarial, mientras que WordPress se adapta a todo tipo de sitios web.
- WordPress puede hacer todo lo que Drupal hace.
- Es más fácil encontrar agencias de desarrollo de WordPress que de Drupal.
Migrar de Drupal a WordPress: paso a paso.
Si ya decidiste migrar a WordPress, no necesitás que te enumeremos las razones. Lo que necesitás hacer se resume en lo siguiente:
- Hacer una copia de seguridad de tu sitio Drupal antes de migrar.
- Configurar el sitio de WordPress al que trasladarás toda tu información de Drupal.
- Migrar el sitio.
- Realizar ajustes post-migración.
Comencemos con la guía de migración.
Hacer copia de seguridad de los datos de Drupal

Hacer una copia de seguridad de tu sitio antes de tomar cualquier decisión importante es siempre una buena práctica. Aunque el proceso de migración no modifica ninguno de tus archivos de Drupal, siempre es mejor tener una copia de seguridad.
Drupal no tiene una alternativa de copia de seguridad nativa, y el proceso es un poco más manual que la mayoría de los métodos de respaldo de WordPress. Drupal recomienda oficialmente usar el módulo Backup and Migrate (equivalente a los plugins de WordPress).
Una vez instalado, seguí estos pasos para habilitarlo:
- Andá a Administrar > Módulos.
- Seleccioná Backup and Migrate en el bloque Otros.
- Hacé clic en Guardar Configuración (tenés que desplazarte al final de la página).
Ahora que el módulo está habilitado, debés hacer una copia de seguridad de la base de datos y de los archivos de instalación principales.
Hacer copia de seguridad de la base de datos
- Andá a Administrar > Configuración > Sistema > Backup and Migrate.
- Para descargar una copia de seguridad de tu base de datos, hacé clic en Respaldar ahora. Podés hacer esto cada vez que necesités una copia de seguridad manual.
- Guardá tu copia de seguridad en múltiples ubicaciones. Drupal recomienda oficialmente almacenarla en al menos tres lugares diferentes con carpetas etiquetadas por fecha.
Hacer copia de los archivos de instalación principales
La mejor manera de descargar los archivos de instalación principales es conectando tu sitio web mediante SFTP y descargándolos a tu computadora. Si no modificaste los archivos principales, siempre podés obtenerlos nuevamente desde Drupal.org, pero si realizaste cambios, debés tener una copia de estos archivos editados.
Los archivos principales contienen un registro de cambios que te ayudará a identificar las ediciones. Si no los respaldás, se perderán para siempre.
Almacenar tus archivos principales en múltiples ubicaciones también es una buena práctica.
Configurar tu sitio de WordPress

Necesitás configurar un nuevo sitio de WordPress para alojar tu sitio migrado de Drupal. Si tu actual proveedor de hosting te permite gestionar múltiples sitios, podés migrar sin registrarte en un nuevo proveedor de hosting.
Supongamos que planeás cambiar de proveedor de hosting. En ese caso, te convendría mudarte a uno que ofrezca beneficios extensos para sitios de WordPress, como certificados SSL, copias de seguridad automáticas, redes de entrega de contenido y escaneos de malware.
Configurar la estructura de permalinks
Una vez instalado y configurado tu sitio, querrás configurar la estructura de permalinks. Desde tu panel de administrador, andá a Ajustes > Enlaces permanentes. Seleccioná la opción Nombre de entrada. También podés elegir otras estructuras, pero Nombre de entrada es la mejor opción para la mayoría.
La estructura de permalinks predeterminada es diferente en WordPress y Drupal. Configurar la opción Nombre de entrada preservará la estructura de permalinks de Drupal después de la migración.
Configurar un plugin de migración

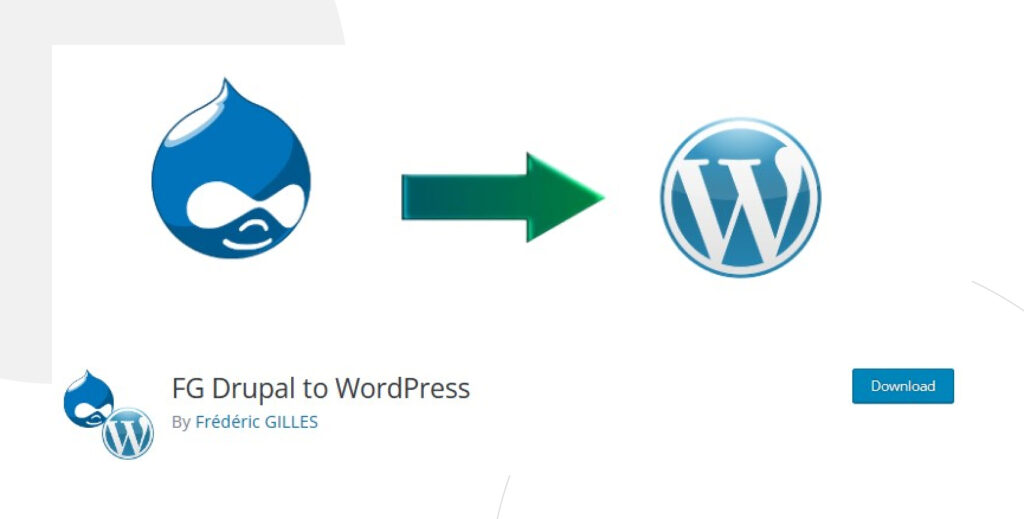
FG Drupal to WordPress es el plugin más popular para migrar sitios de Drupal a WordPress. La versión gratuita del plugin migra los artículos de Drupal, historias de Drupal 6, páginas básicas, categorías, etiquetas, imágenes y más.
Sin embargo, la versión premium reserva algunos elementos que quizás quieras migrar, como comentarios, autores, administradores, usuarios, tipos de publicaciones, taxonomías, campos personalizados, campos de usuarios personalizados y más. Leé detenidamente las características de cada versión antes de decidir cuál utilizar.
Una vez que te decidiste por la versión, instalala y activala.
Configurar la importación

Ahora vamos a configurar los parámetros de importación para la migración.
Eliminar contenido de WordPress
Aquí, eliminaremos el contenido de nuestro nuevo sitio de WordPress para importar los datos en un entorno limpio.
Desde el panel de control, andá a Herramientas > Importar. Bajo Drupal, hacé clic en Ejecutar Importador. Aparecerán varias opciones en la siguiente pantalla. Necesitás limpiar tu sitio actual de WordPress en la pestaña de Migración. Hacé clic en Eliminar todo el contenido de WordPress si agregaste alguna página u otro tipo de contenido a tu sitio de WordPress.
No deberías necesitar limpiarlo si no agregaste nada.
Configurar credenciales FTP
Ahora completa las secciones Parámetros del sitio web Drupal y Parámetros del FTP de Drupal.
En Parámetros del sitio web Drupal, tendrás que pegar la URL de tu sitio web de Drupal y elegir cómo se descargará el sitio web en el entorno de WordPress. Las tres opciones son HTTP, FTP y Sistema de archivos. HTTP es la opción predeterminada y más sencilla, y Sistema de archivos es la más rápida, pero requiere que ambos sitios estén en el mismo servidor.
Si tus sitios no están instalados en el mismo servidor y tu sitio de Drupal es bastante grande, FTP es la mejor opción. Completá las credenciales FTP para tu sitio web original de Drupal, no para el sitio de WordPress al que intentás importarlo. Hacé clic en Probar conexión FTP para confirmar que tus credenciales son válidas. Las credenciales FTP estarán en el panel de control de hosting de tu sitio web de Drupal, en caso de que no las conozcas.
No necesitarás configurar credenciales FTP si no elegís la opción FTP.
Configurar base de datos
Ahora es momento de configurar la sección Parámetros de la base de datos de Drupal. Elegí si tu base de datos de Drupal utiliza MySQL, SQLite o PostgreSQL, y luego ingresá tus detalles de usuario.
Los detalles que necesitas para esta sección estarán en tu instalación raíz. Andá a drupal > sites > default > settings.php. No hagas ningún cambio en este archivo, o tu sitio de Drupal se volverá inestable.
Configurar ajustes de publicación e importación
Andá a la sección Comportamiento y elegí hasta el extracto. Esto asegurará que las publicaciones y páginas se importen como extractos, ahorrándote el tiempo de hacerlo manualmente más tarde.
Ahora pasá a la subsección Medios. En Establecer imagen destacada desde, elegí campo de imagen. La opción Tiempo de espera para cada medio determina cuánto tiempo intentará el plugin importador recuperar un archivo multimedia. Si un archivo no está disponible, puede detener todo el proceso de migración. Configuralo en 20 segundos.
Dejá el resto de las opciones sin marcar.
Realizar la migración
Con todas las configuraciones hechas, hacé clic en Comenzar / Reanudar la importación. Cuando termine, recibirás un mensaje de éxito. ¡Genial, pero todavía no terminamos!
Seguí leyendo para saber qué configurar después de completar la migración.
Después de la migración
Sección “Después de la migración”
Desplazate hacia abajo y encontrarás la sección Después de la migración. Hacé clic en Modificar enlaces internos para aplicar los parámetros de permalinks que editamos anteriormente en “Configurar estructura de permalinks”.
Redirigir tu dominio
Ahora tenés un sitio totalmente migrado y funcionando. Sin embargo, si visitas el dominio de tu sitio, aún serás dirigido a tu sitio de Drupal. Necesitás redirigirlo a tu sitio de WordPress. Tenés dos opciones, dependiendo de cómo obtuviste tu nombre de dominio.
- Usando tu registrador de dominios. Si registraste tu dominio a través de un registrador, tendrás que acceder a tu cuenta en ese registrador y modificar la configuración DNS de la propiedad.
- Usando tu proveedor de hosting. Si registraste tu dominio a través de tu proveedor de hosting, tendrás que seguir los pasos adecuados para ese proveedor de hosting.
Elegir el tema
Finalmente, el último paso. Como tu nuevo sitio será muy diferente a cómo era cuando fue construido en Drupal, necesitarás elegir un tema. Obtené cualquiera de los temas gratuitos o premium en el mercado de WordPress.
Conclusión
El proceso tiene bastantes pasos, así que asegurate de leerlos detenidamente, pero el plugin FG Drupal to WordPress demostró ser invaluable al hacerlo lo más directo posible. Sería extremadamente difícil configurar la migración de otra manera.
Cuando todo esté hecho, tendrás un sitio totalmente funcional con un tema de alta calidad y podés empezar a agregar plugins y hacer cualquier otro ajuste que necesites. ¡Disfrutá de la facilidad de uso de WordPress!
Artículos relacionados

Paso a paso / 11 min de lectura
Paso a paso / 11 min de lectura
¿Qué hacer si al actualizar a PHP 8.1 se rompe tu sitio WordPress?
PHP es el lenguaje de programación en el cual está principalmente escrito WordPress. Se ejecuta en el servidor web que hospeda tu sitio, y al actualizarlo regularmente, mejora el rendimiento…
Leer más
Paso a paso / 8 min de lectura
Paso a paso / 8 min de lectura
¿Cómo limpiar tu carpeta de subidas de WordPress?
La carpeta de Subidas de WordPress se encuentra en wp-content y contiene todos los archivos multimedia, como imágenes, videos y documentos, que subís a través de la Biblioteca de Medios…
Leer más
Paso a paso / 11 min de lectura
Paso a paso / 11 min de lectura
Cómo solucionar el error “Falló la verificación de cookies” en WordPress
El error “cookie check failed” es un mensaje que aparece en algunos sitios de WordPress, impidiendo que los usuarios accedan a parte o todo el contenido y que los administradores…
Leer más
Paso a paso / 5 min de lectura
Paso a paso / 5 min de lectura
Cómo eliminar los posts que vienen por defecto en WordPress
Si recién empezaste un nuevo sitio de WordPress, es probable que te hayas encontrado con publicaciones y páginas de ejemplo como "¡Hola, Mundo!" y "Página de Muestra". Al personalizar tu…
Leer más
Troubleshooting / 13 min de lectura
Troubleshooting / 13 min de lectura
WordPress no se Muestra Correctamente en Móviles: 5 Soluciones
A veces, tu sitio de WordPress no se muestra correctamente en dispositivos móviles a pesar de funcionar bien en el escritorio. Esto puede ser frustrante y difícil de solucionar porque…
Leer más