So, you want to add your own custom HTML to the body of your WordPress posts and pages, huh? That’s great.
Adding custom HTML code is an excellent way to display unique content that may be harder to pull off with WordPress’s default features. However, the question is, “How?”
Luckily, WordPress is very flexible and allows users to add HTML code in multiple ways. Some involve built-in features of the Gutenberg editor, while others require some coding knowledge. Let’s explore these methods to help you learn how to take control of the custom HTML on your site.
Key Takeaways
- It’s possible to add custom HTML to the body of your WordPress posts and pages with the Custom HTML block on Gutenberg.
- It’s also possible to display custom HTML before or after your post’s content using the template tag the_content.
Is it Possible to Add HTML to the Body of Your WordPress Posts?
Yes, it’s possible to add custom HTML to the body of your WordPress posts and pages. You can add HTML before or after the body and in the body itself. These are the most straightforward methods for each of these:
- If you want to add HTML in a specific part of your post’s body, use the Custom HTML block on Gutenberg.
- If you want to add HTML before your post’s body, use the template tag the_content.
- If you want to add HTML after your post’s body, you can also use the template tag the_content.
These tools and features allow you to control where to place your custom HTML code in WordPress.
3 Methods to Add HTML Code to the Body of Your WordPress Posts and Pages
Now that you know that adding custom HTML code to your WordPress site is possible, let’s explore the methods you can use to do it.
Method #1: Add HTML to the Body of Your WordPress Posts With the Custom HTML Block in WordPress
The Custom HTML WordPress block is the easiest way to add HTML to your posts and pages. It is a built-in block that comes with all WordPress installations and is very easy to use.
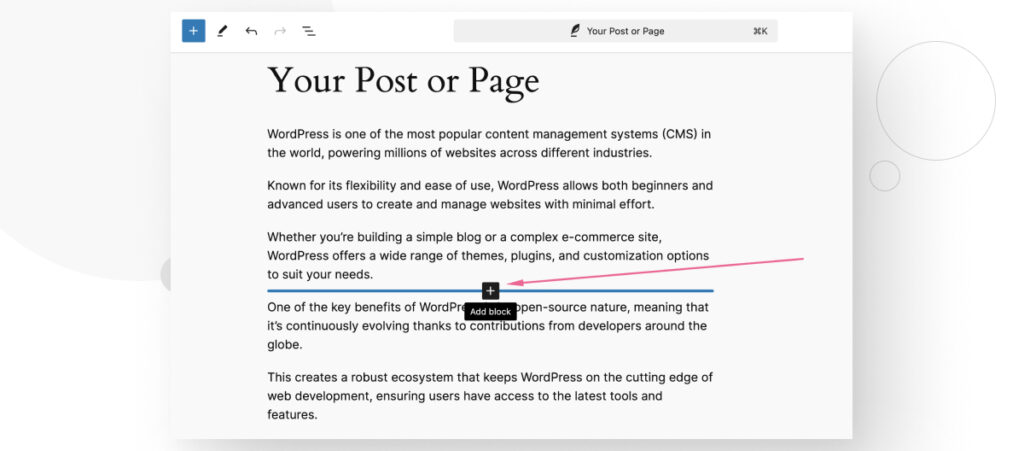
Once you’re editing your post or page, hover your pointer over the area where you want to insert the HTML code and click Add Block.
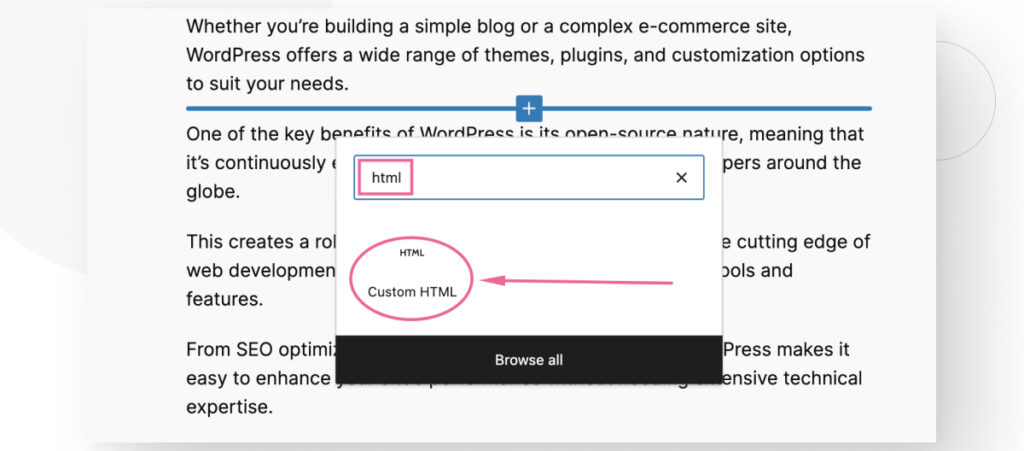
You will see a small menu where you can browse blocks or search for them by name. Search for “html” and click on the Custom HTML button that appears below.
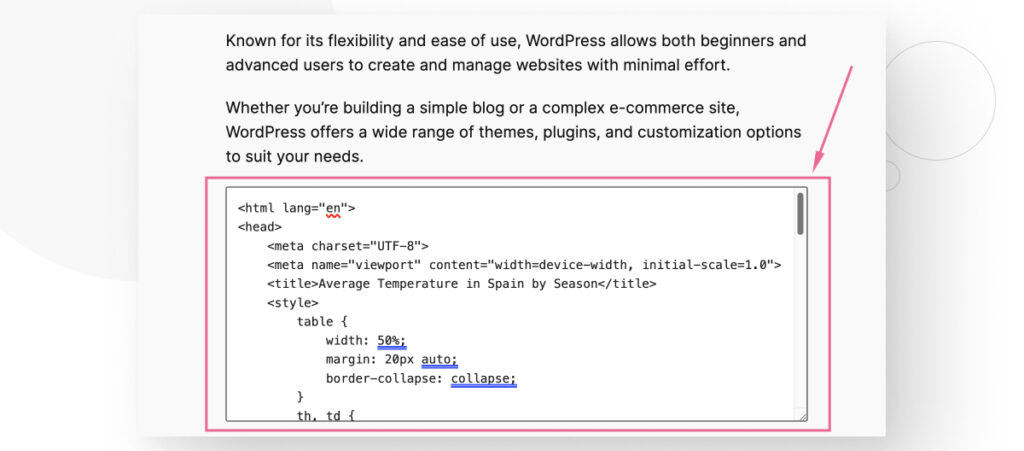
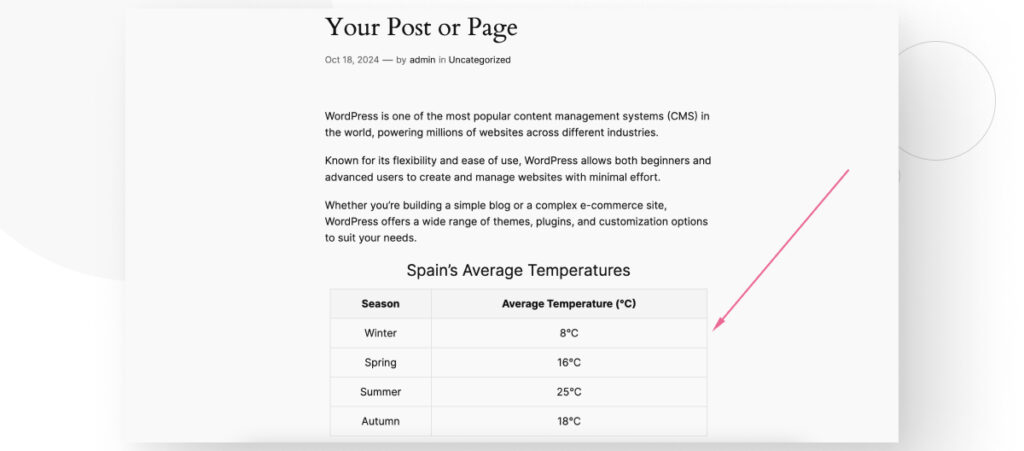
Now, you can enter your HTML code. For example, let’s enter HTML code for a table that displays Spain’s average temperature by season.
Once you’ve added your HTML code, save your changes and visit your live post, page, or preview to see your code in action.
Method #2: Add HTML Before the Body of All Your Posts by Editing Your Theme’s functions.php File
If you want to add HTML to every post on your site instead of a single post, you could edit your theme’s functions.php file.
This method uses the template tag the_content to create a function that inserts HTML at the top of your content’s body.
the_content is a template tag that displays the main content of a post or page. It pulls the body of the post from the WordPress database and outputs it wherever you decide to place it.
You can use this template tag to prepend custom HTML to every post or page on your site if you have an important message that you want your readers to know.
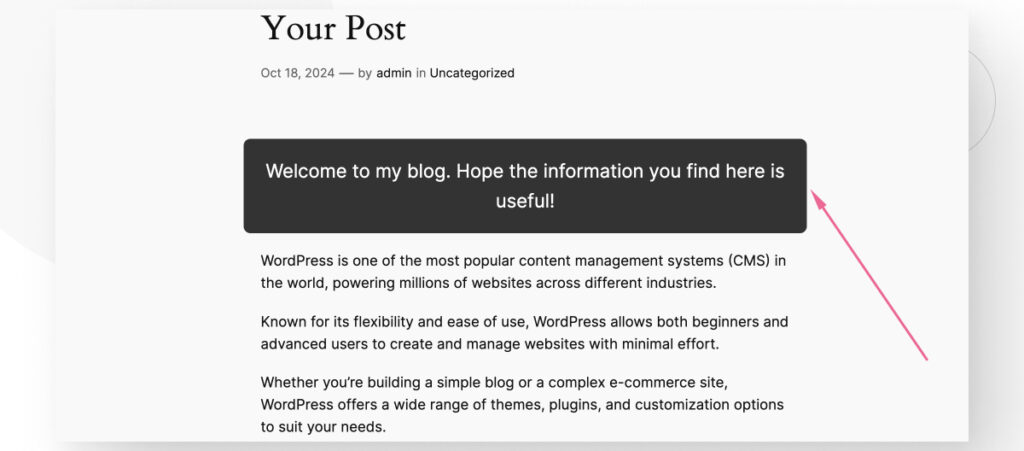
Here’s an example of how to use the_content to display a visually distinct text box at the beginning of your blog posts:
if ( ! function_exists( 'add_welcome_text_to_posts' ) ) :
    function add_welcome_text_to_posts ($content) {
        if ( is_single() ) {
            $welcome_text = '<div style="background-color: #333333; color: #ffffff; font-size: 22px; padding: 20px; border-radius: 8px; line-height: 1.6; text-align: center;" class="welcome-box">Welcome to my blog. Hope the information you find here is useful!</div>';
            $content = $welcome_text . $content;
    }
    return $content;
}
endif;

add_filter('the_content', 'add_welcome_text_to_posts');
Here’s how it looks in action:
Method #3: Add HTML After the Body of All Your Posts by Editing Your Theme’s functions.php File
You can use the_content in a similar way to the previous method to append custom HTML to every post or page on your WordPress site. This allows you to load the content after the body of your posts or pages.
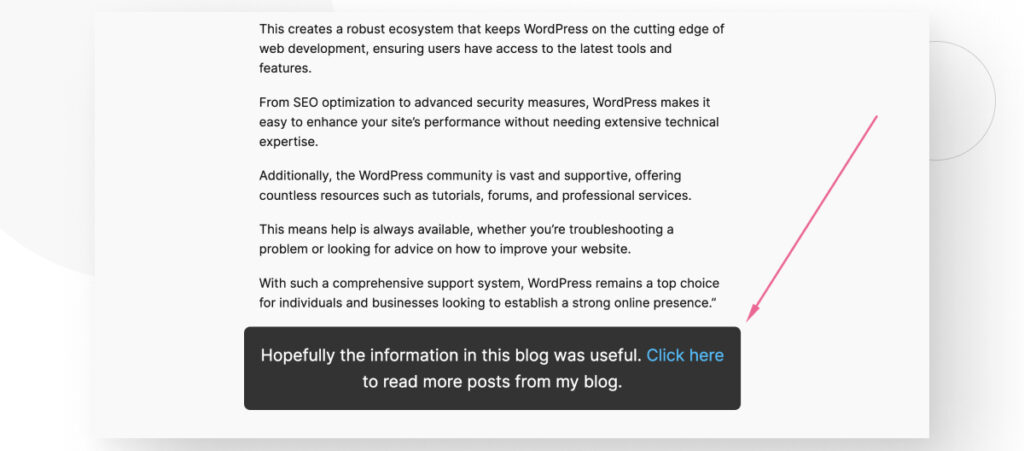
Here’s an example of how to use the_content to append a text box after every blog post:
if ( ! function_exists( 'add_goodbye_text_to_posts' ) ) :
    function add_goodbye_text_to_posts ($content) {
    if ( is_single() ) {
        $goodbye_text = '<div style="background-color: #333333; color: #ffffff; font-size: 22px; padding: 20px; border-radius: 8px; line-height: 1.6; text-align: center;" class="goodbye-text">Hopefully the information in this blog was useful. <a href="https://www.example.com" style="color: #00bfff; text-decoration: none;">Click here</a> to read more posts from my blog.</div>';
        $content = $content . $goodbye_text;
    }
    return $content;
}
endif;

add_filter('the_content', 'add_goodbye_text_to_posts');
Here’s how it looks in action:
Though this guide modified the functions.php file directly, keep in mind that WordPress will overwrite it when you update to a newer version.
That’s why we highly recommend using either a child theme or a code snippets plugin like WP Code. Either method will allow you to retain your custom code even after an update.
It’s Easy to Add HTML to the Body of Your WordPress Posts and Pages
As you can see, you can add HTML to the body of your WordPress posts and pages with the Custom HTML Gutenberg block. You can also add HTML before or after every post on your site using PHP code, specifically the template tag the_content.
If you learn to use these tools, you’ll be able to display custom HTML anywhere on any of your posts.
If you found this post useful, read our blog and developer resources for more insights and guides!
