- Blogs
- WordPress 101
- WordPress Login URL: how to find it and customize it using a plugin.
WordPress 101 / 6 min read
WordPress Login URL: how to find it and customize it using a plugin.
Your login URL is the door to your WordPress site’s admin dashboard, but using the default URL is a security risk. Learn how to customize it to increase site security.
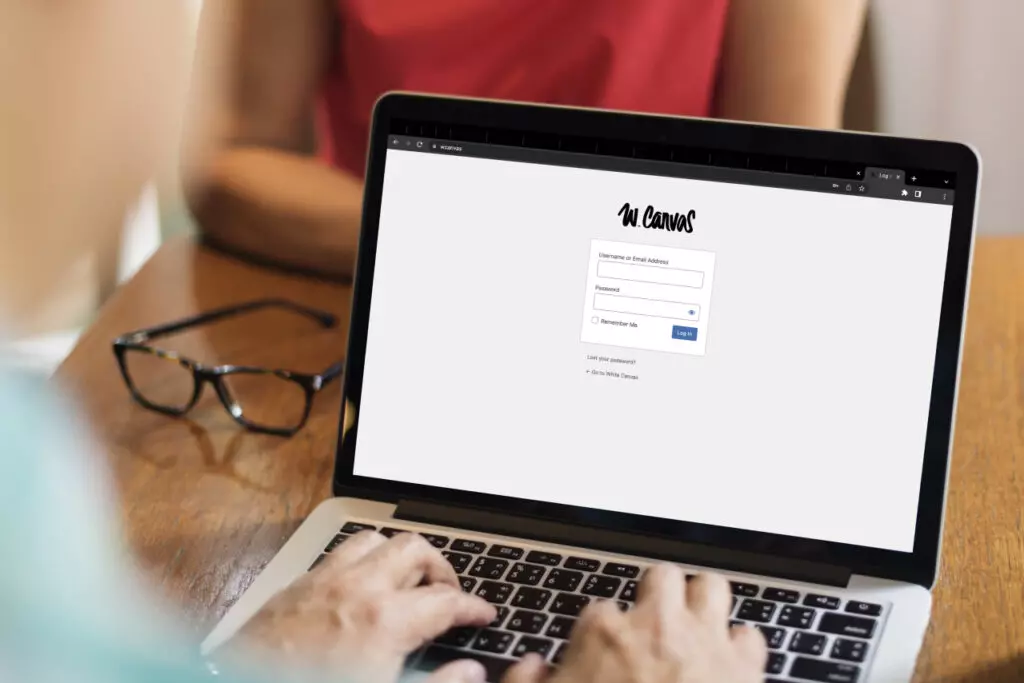
Your WordPress login URL is the web address where you enter credentials to access your WordPress site’s admin dashboard.
Your WordPress installation will enable a default URL based on your domain name. It is convenient and easy to remember for novices just starting in web development or site management. However, it’s a bad security practice because anyone can access your login URL.
This article will explore how you can find your default login URL and how you can customize it by installing an easy-to-use plugin. Let’s get started!
How to access your WordPress site’s login URL?
Accessing your login URL is easy, which is excellent for beginners in website management.
Suppose you own a website called www.madeupwebsite123.com and want to access its admin dashboard. All you’d need to do is add a / right after .com. Then, add one of the following default subdirectory names, which WordPress reserves for the login URL:
- www.madeupwebsite123.com/admin/
- www.madeupwebsite123.com/login/
- www.madeupwebsite123.com/wp-admin/
- www.madeupwebsite123.com/wp-login.php/
If you haven’t changed the URL after installation, any of these URLs will redirect you to your admin login page.
What if you installed your WordPress in a subdomain or subdirectory?
The method above will work for most website owners, but it won’t if you install WordPress in a subdomain, such as www.blog.madeupwebsite123.com. The same goes for installing WordPress in a subdirectory, such as www.madeupwebsite123.com/wordpress.
The process is the same for these scenarios, which are very common in multisite management.
For websites installed in a subdomain, you can access the login URL like this:
- www.blog.madeupwebsite123.com/wp-admin
- www.blog.madeupwebsite123.com/wp-login.php
For websites installed in a subdirectory, you can access the login URL like this:
- www.blog.madeupwebsite123.com/wordpress/wp-admin
- www.blog.madeupwebsite123.com/wordpress/wp-login.php
How to remember your WordPress login URL
If you feel you’ll have a hard time remembering your WordPress site’s URL, you can bookmark it so you’ll always have instant access without remembering the exact address.
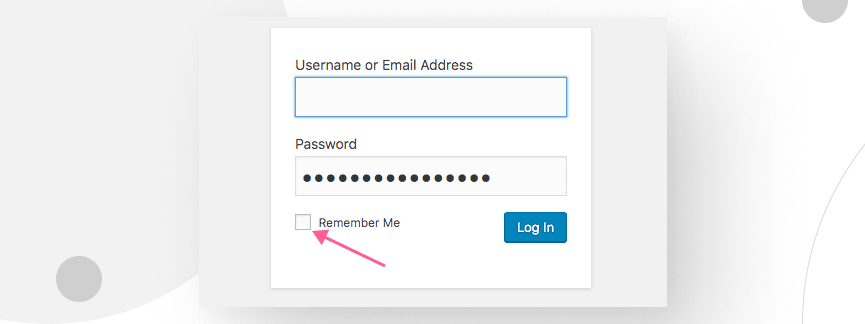
Also, if you are using your personal computer to log in, you should tick the Remember Me box on the login page. This feature allows you to keep your session logged in for several days.
Consider using password managers such as LastPass, which provide easy and secure access to all your passwords.
Finally, enforce strong passwords for all users and consider two-factor authentication. Weak passwords without two-factor authentication are easy to crack and put your entire site at risk.
How to change your WordPress login page?
By far, the easiest way to change your login URL is by using plugins. It’s the best way for beginners and even experienced web developers who want an easy and effective fix.
There are manual ways to change your login page if you want to try them, such as modifying the .htaccess. But remember that .htaccess only exists on Apache-based servers, so this method won’t work on Nginx servers or servers from any other brands.
For most people, using a plugin will be the easiest, fastest and safest way to go since there are free and perfectly effective alternatives for this.
Step by step: how to use WPS Hide Login to change your WordPress login URL.
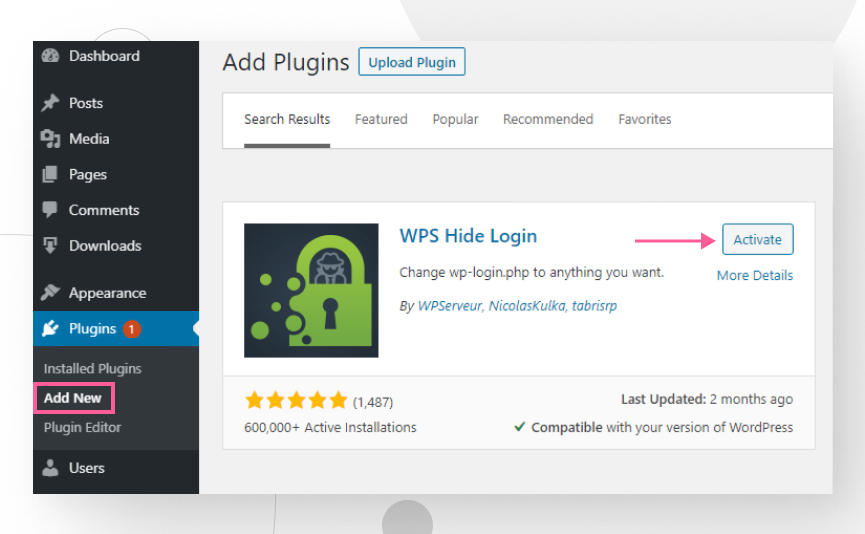
1. Install and activate WPS Hide Login
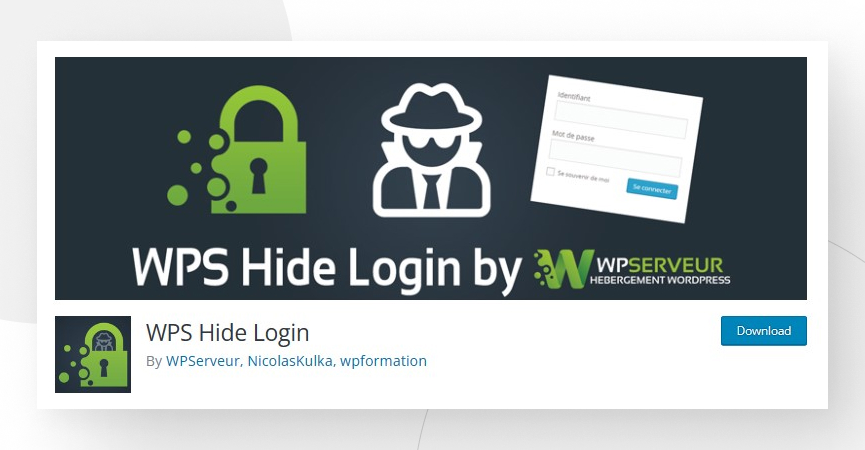
WPS Hide Login is one of the most popular plugins for changing your login URL. It’s free, lightweight, and non-intrusive since it doesn’t change any core files. It intercepts page requests, is compatible with any plugins that connect the login form, and works with multisite, subdomains, and subfolders.
WPS Hide Login guarantees that deleting it will restore the default login URL. However, if you want to avoid potential issues, you should back up your site first.
Install WPS Hide Login and activate it in your dashboard.
2. Configure the Plugin
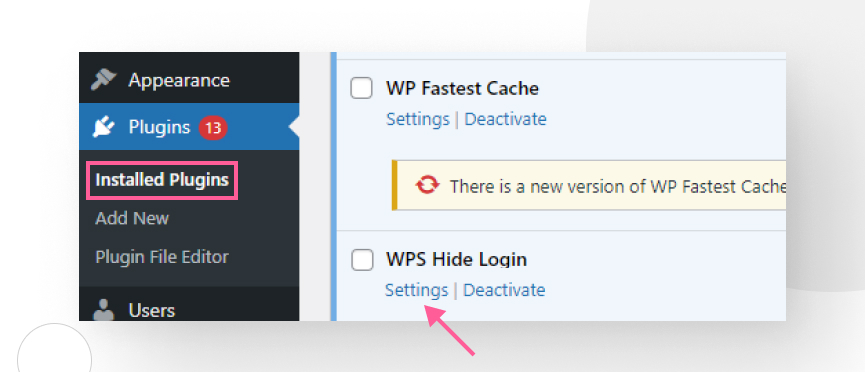
Go to Plugins → Installed Plugins.
Find WPS Hide Login and click on Settings.
Configure the new login URL by modifying the Login URL field. You can also change the Redirection URL field if you want to send users who try to log in via the default URLs to a specific page. If not, leave the default value redirecting to your 404 page.
When choosing the URLs, use keywords that are hard to guess and meaningful to your brand. Avoid using wp, admin, or any other term in the default URLs.
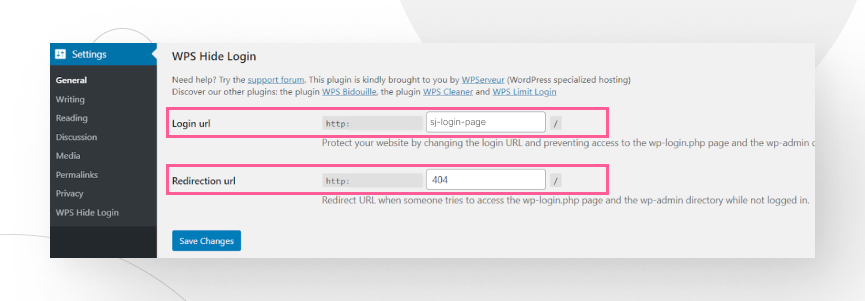
Click on Save Changes.
And that’s it! You’ll receive a confirmation message with the new login page. Remember to bookmark this new page! Especially if your site has multiple admins.

3. Try out your new login URL!
Now you can try logging out and reentering via your new URL. If you did everything correctly and saved the URL, you’ll be met by your WordPress login page. Remember to bookmark it and share it with your other admins.
Why is it essential to change your WordPress login URL?
Accessing your login URL is easy. That’s great for beginners but bad for your site’s security.
Since WordPress provides default login URLs, any lousy actor could access them. Once on your login page, they can brute force their way into your dashboard. Admin dashboard access would allow them to make any change they want.
To avoid making a hacker’s job easier, you should move your login page to a non-default path. It won’t guarantee 100% security, but it’s an essential first step.
Two other reasons to change the default URL are:
- It hides the fact that you’re using WordPress. There are other ways to know you’re using WordPress, but your login URL is one of the most obvious.
- It protects your page from zero-day security attacks.
How to restore the default login URL after changing it?
To return to the previous default login URL, you can:
- Uninstall WPS Hide Login, and everything will return to how it was before.
- Restore the backup version you previously created.
That’s it. Using any of these, your login URL will return to its default value.
Other ways to improve login URL security
Limiting access attempts to your site is another method to increase login security. There are various free plugins available to accomplish this. You could go for Limit Login Attempts Reloaded, which allows you to:
- Limit the number of login attempts.
- Enter a list of trusted IPs.
- Enter a list of blocked IPs.
- Set up notifications to a specified email address in case of unsuccessful login attempts.
But, as a development agency, our choice is Wordfence Security. It’s a plugin to apply firewalls and run security scans which also contains login security features, such as:
- Two-factor authentication (2FA).
- Login Page CAPTCHA.
- Blocking logins for administrators using known compromised passwords.
Explore their features and determine which one works best for your needs. Whichever you choose, remember to back up the site before installing!
Customizing your login URL is an important security measure
By this point, you understand why customizing your login URL is essential for your site’s security: it prevents terrible actors from exploiting a shared vulnerability.
We have gone over all the crucial points to consider when modifying your WordPress login URL, as well as several options to ensure your site is protected from potential attacks via unauthorized logins.
You are now ready to customize your login URL according to the needs of your web development project.
If you found this post useful, read our blog and resources for more insights and guides!
Related Articles
How to... / 5 min read
How to... / 5 min read
How to Make a Subscriber Into an Admin on WordPress?
While it's not the most common situation, at some point, you may find yourself needing to make a Subscriber into an Admin on your WordPress site. Maybe you need to…
Read More
How to... / 3 min read
How to... / 3 min read
How to Grant Secure Access to a Not Live WordPress Site During Development
When developing a WordPress site, you often need to collaborate with multiple developers and grant access to the website owner so they can review the progress themselves. However, granting access…
Read More
Industry Insights / 11 min read
Industry Insights / 11 min read
Do You Need a Web Developer to Build a WordPress Site?
If you’re building a WordPress site or considering building one, you wonder whether you need a web developer to create it or you can do it yourself. The answer can…
Read More
How to... / 6 min read
How to... / 6 min read
How to Change the Bottom Padding Dimensions on WordPress Blocks
If you're learning to modify your WordPress site's layouts and design, you may be wondering how to change the bottom padding dimensions of some of its elements. If that's the…
Read More
How to... / 10 min read
How to... / 10 min read
How to Disable the “Similar Posts” Section in WordPress Blogs
If you’re diving deeper into customizing your site, you may be wondering how to disable the “Similar Posts” section that appears on the bottom, sidebar, or footer of your WordPress…
Read More