How to set a Local Environment to work locally on WordPress
Need to work locally on WordPress? Then this article is for you. If you are looking to create or modify a WordPress site using a local environment, we at White Canvas provide you with a step-by-step guide to set it up easily on your computer.

Setting up a local WordPress environment can provide you with an easy and secure development experience that doesn’t involve unnecessary server costs or even an internet connection. There are many options to work like this with WordPress, from setting up a web server on your computer to using Docker containers to run your website.
In this article, we will focus on setting this environment using programs you can simply download to your PC. So, without further do, let’s jump right into our local environment setup.
How to install WordPress locally?
To set up a local WordPress environment on your computer, you only need three tools:
Below, we will explain how to set up these applications to create your local environment.
Installing WordPress with Local
Local WP is a development tool to set up and install WordPress locally on your computer. To start using it, first, you need to download this tool to your PC, making sure to choose the appropriate version for your operating system: macOS or Windows.
Once you have installed the program, follow these steps to get your WordPress installation up and running.
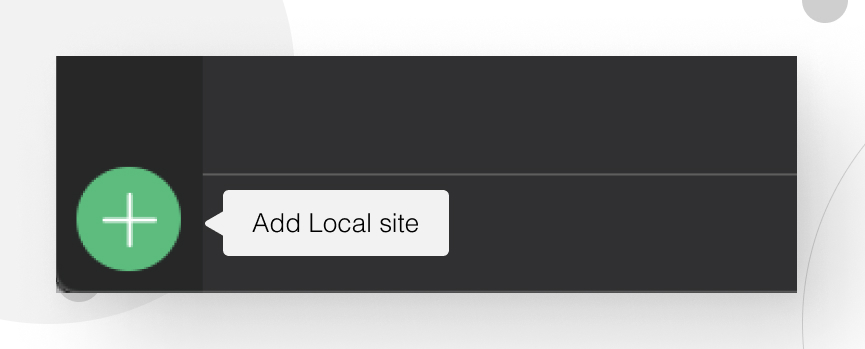
1. Click on the “Add Local site” button in the lower-left corner of the Local WP app.
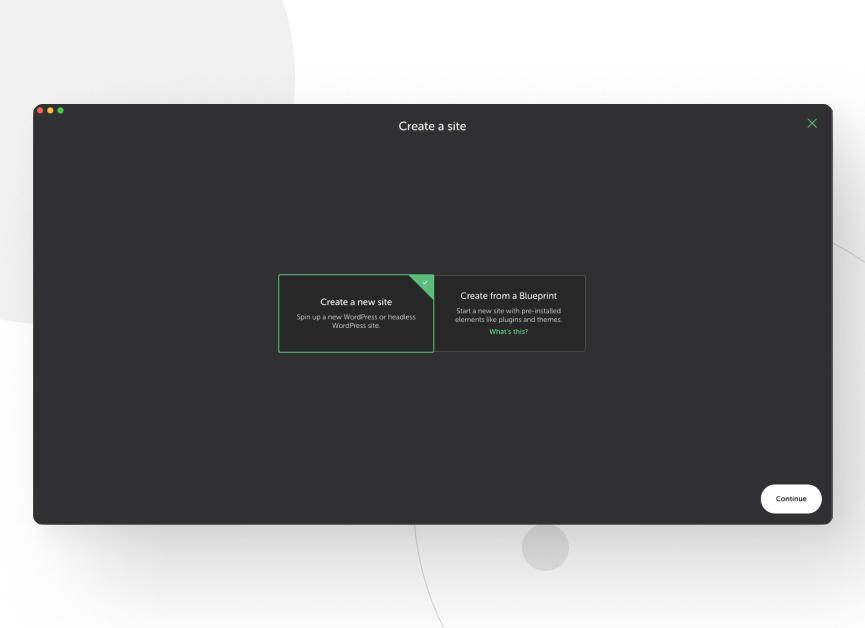
2. Select the option “Create a new site” and click on the “Continue” button.
3. Add a name to identify your local WordPress site.
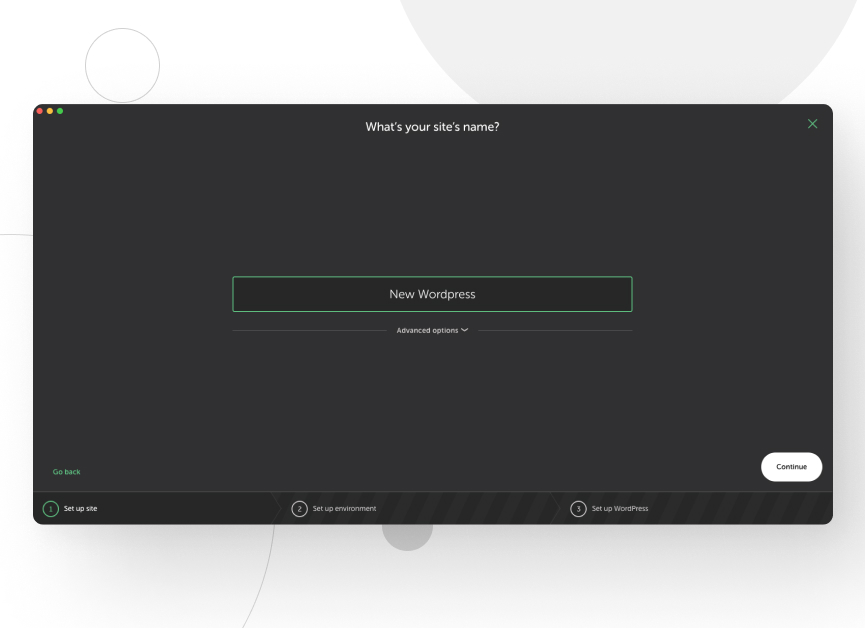
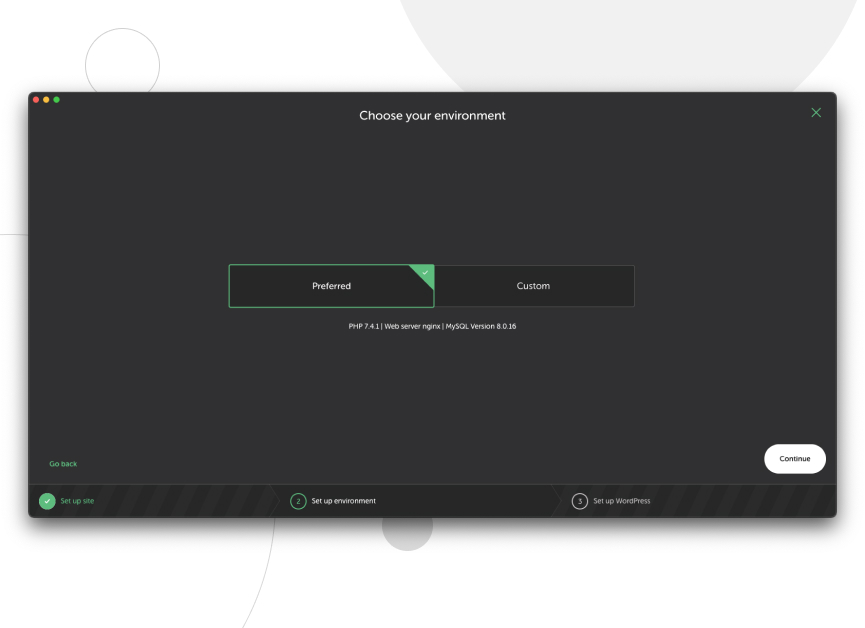
4. Now, choose your environment. If you are not an advanced user, we recommend selecting a “Preferred” environment. Click again on continue.
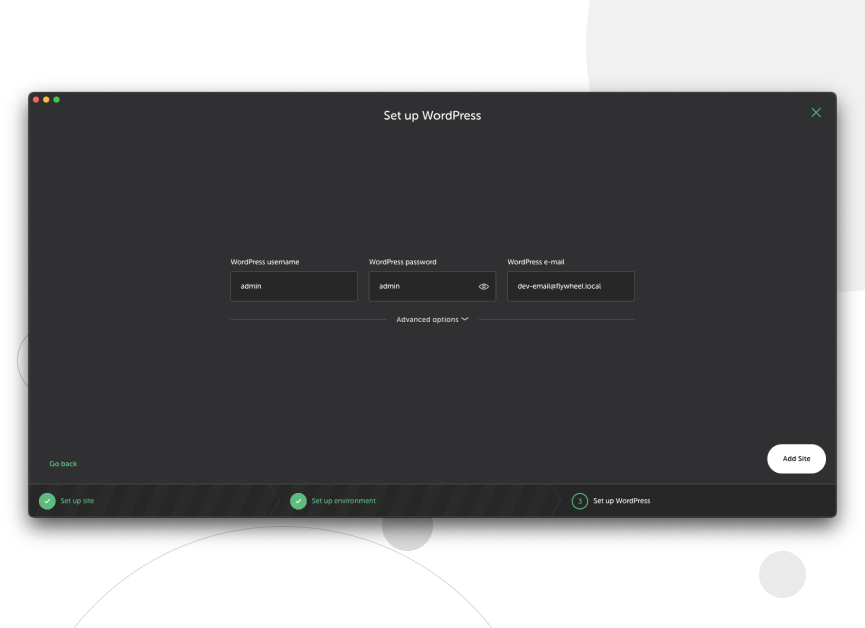
5. Set up a username and password for your environment. Don’t be afraid of using something easy to remember, like admin-admin, or something complicated, like an auto-generated password, since the application will provide you with an ‘ease login’ feature. Then, click “Add Site” and wait for Local to provide you with your new site.
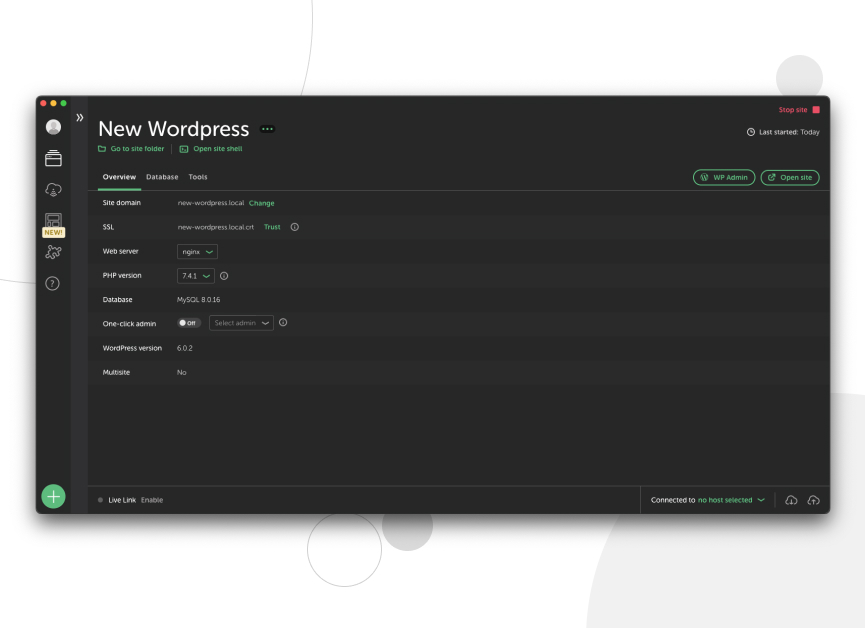
And done! Now you have a fully installed and ready-to-go WordPress copy, ready with PHP, Nginx, MySQL, and everything you need to see it working on a browser.
Using Visual Studio Code
To modify the appearance and functionality of your WordPress, you will need to open the files generated by Local WP with a code editor.
To do so, we will use Visual Studio Code. First, download and install the program on your computer, then follow the next steps:
1. Go to your Local WP site and click on “Go to site folder”, under the site’s title.
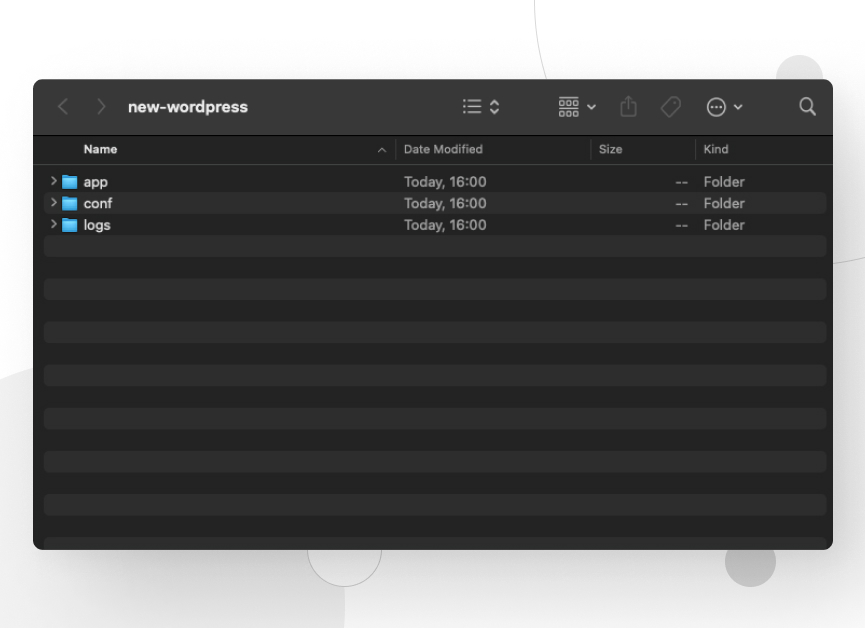
2. Once there, go to the ‘app’ folder. You will see three folders, one named “public”.
3. Open Visual Studio Code.
4. Drag and Drop the “public” folder to your Visual Studio Code.
Now you’re ready to start coding!
Setting up Fork to create a repository
Although Visual Studio Code has hundreds of integrations and version control software like Git, you’ll possibly end up needing a few extra tools to manage your versioned source code.
So, let’s create a repository from the files we’ve already created with Local. To accomplish this, you’ll need to download Fork on your computer and follow the next steps.
1. Open Fork.
2. Click on File → Init New Repository.
3. Look for your site’s path and then click on “app” and localize the “public” folder inside your local site. Tip: To find the location of your site easily, you can right-click any file on the Visual Studio Code file tree and click on ‘copy path’, then, you can paste it into the Fork’s File Explorer search bar.
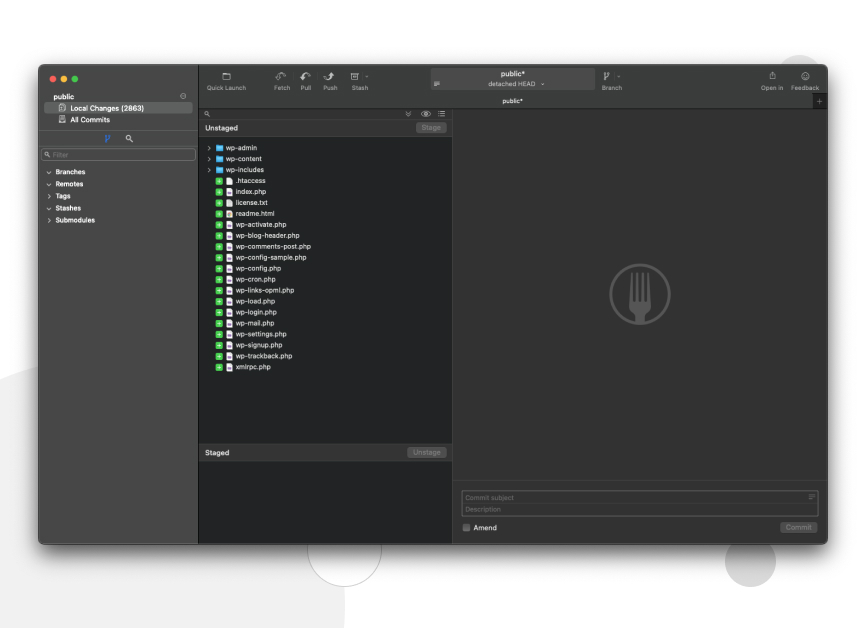
4. Now, you have successfully initialized a new repository on your WordPress installation, and you can add everything to the Staged area.
Tip: Click any item, and then press CTRL+A to select everything.
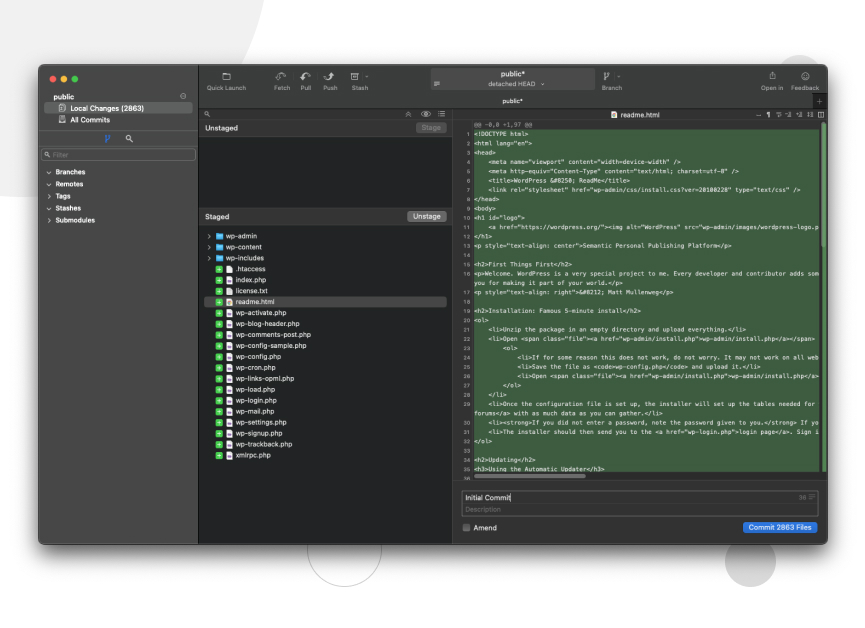
5. Then add a comment and commit the changes.
That’s it! Now you have your files versioned and ready to track changes with GIT.
As we have seen, you only need these three easy tools to have your local environment up and running in 15 mins tops. Once you have this environment, you can add multiple sites with different configurations, keep track of all the changes inside these sites and modify their files easily with a simple code editor.
📬 Get WordPress updates to your inbox
Sign up for WC Blog updates and never miss a post!
Related Articles
How to Make a Subscriber Into an Admin on WordPress?

How to Grant Secure Access to a Not Live WordPress Site During Development

Do You Need a Web Developer to Build a WordPress Site?

How to Change the Bottom Padding Dimensions on WordPress Blocks