Why Is Your WordPress Site “Not Secure”? What You Need to Know
In July 2018, Google Chrome started flagging sites without an SSL certificate as “not secure.” Any website still using HTTP instead of HTTPS to exchange information with users has been “not secure” for several years. If you’re wondering why your WordPress site is “not secure,” there’s a good chance you’re still using HTTP instead of HTTPS.
HTTPS enforces the security protocol SSL, and that’s why Chrome prefers it.
Every other major browser took similar measures to make the web more secure and prevent eavesdroppers from capturing data. While this is excellent for all, it also forces WordPress website owners to acquire an SSL certificate or have their sites flagged as insecure, even if they’re doing nothing malicious.
This article explores SSL certificates, why you need them, how to install them, and how to configure them to make the warning disappear and protect your users’ privacy.
Why Is Your WordPress Site “Not Secure”?
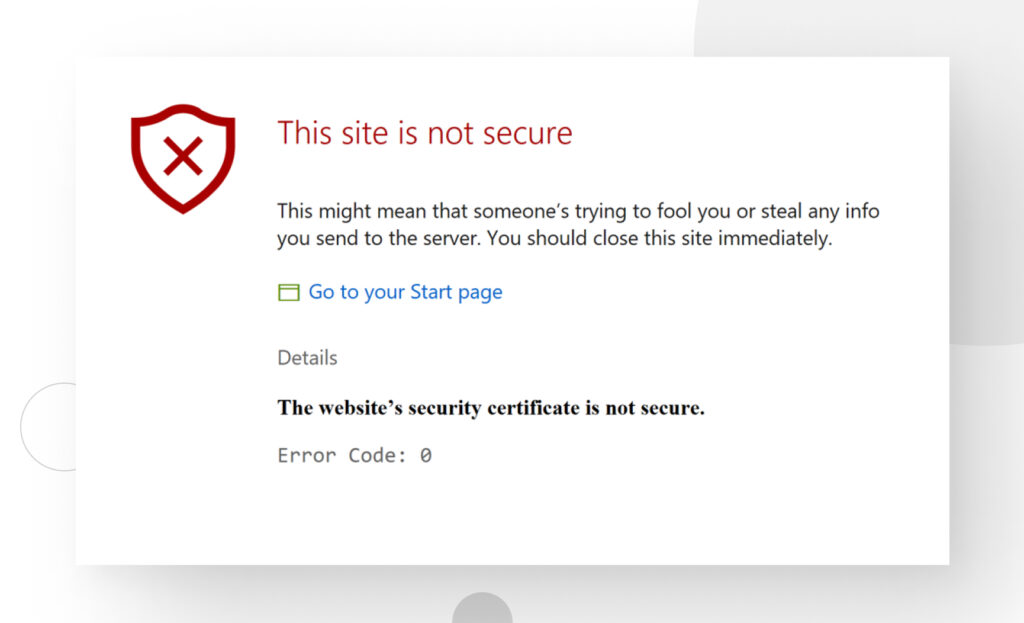
The cause of the “not secure” warning that appears when users visit your WordPress website relates to SSL certificates. Most of the time, it indicates that your website doesn’t have an SSL certificate, has expired, or is improperly configured.
The warning looks different on every browser, but it generally looks something like this:
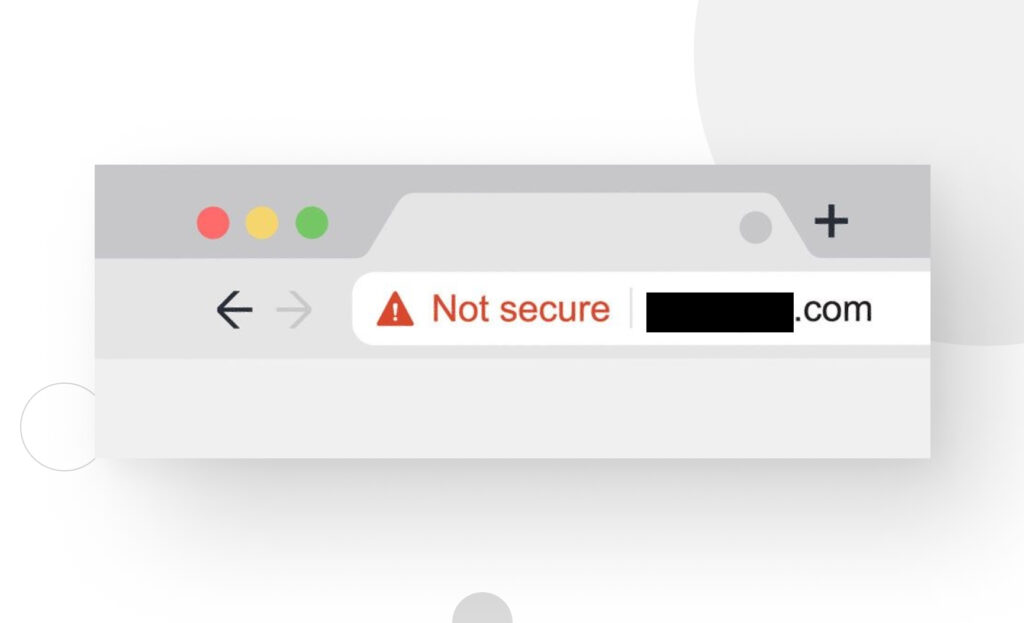
Additionally, you’ll see text or an icon next to your browser’s address bar indicating that the website is unsafe to use. It may look something like this:
SSL Certificates
A Secure Socket Layer (SSL) certificate is a digital certificate that authenticates a website’s identity and enables encrypted connections between the website and the user’s browser by using the SSL security protocol. SSL certificates ensure data exchanged between browsers and websites stays private and secure.
When an SSL certificate protects your website, you’ll see a padlock icon to the side of the address bar, like this one:
You now know why your WordPress site is “not secure” to users. Now let’s move on to how you can fix it by exploring solutions for the most common causes of the problem.
Note: Technically, SSL has been deprecated since 2015 due to security flaws. When you acquire a modern SSL certificate, TLS 1.3 is the protocol that protects your website’s traffic. TLS is an improved version of SSL. The “SSL” name simply stuck due to being used for longer.
Back Up Your Site First
You need to back up your site before making any significant changes. You can back up your site manually, with a plugin, or with your web host. Read our guide if you don’t know how to back up your site.
Fixing the “Site Not Secure” Warning
As we mentioned, the “site not secure” warning is caused by SSL issues, so we’ll walk you step by step through installing an SSL certificate and configuring it so browsers stop flagging your site as unsafe.
Check Whether You Already Have an SSL Certificate
Some web hosts set up SSL certificates as soon as your site goes live, so you may already have an SSL certificate and not know it. You can manually check whether you have one or use an online SSL certificate checker.
- To check manually, open an incognito tab and go to your website. If you see a padlock icon to the side of the address bar, you have an SSL certificate, and you can skip the installation guide below.
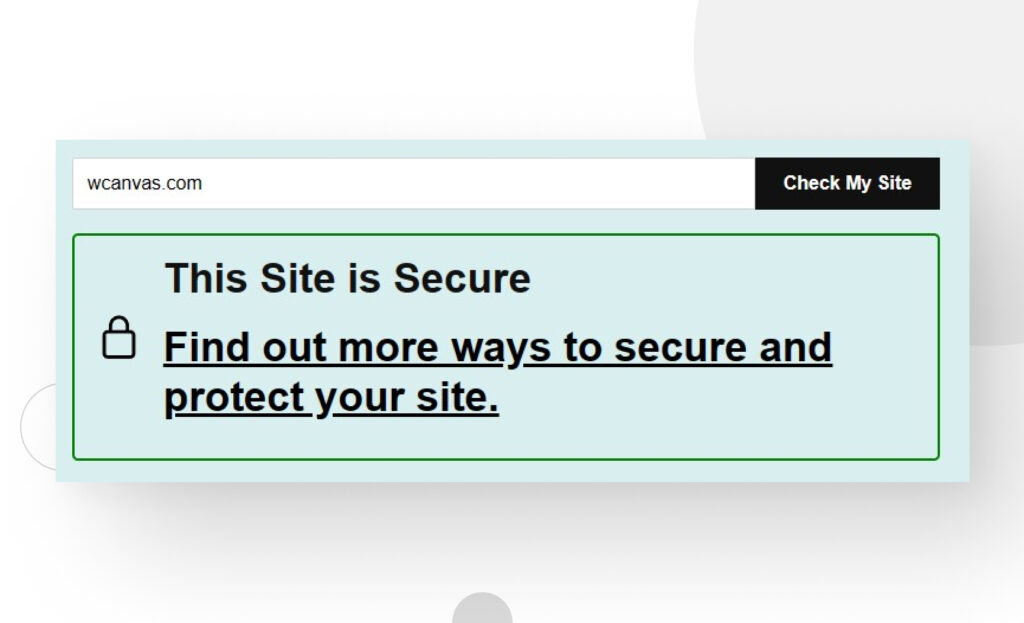
- There are also multiple online SSL checkers. You can use GoDaddy’s checker or any other. You paste your site’s URL and wait a few seconds for the results. If you already have a certificate, this is what you’ll get.
Install an SSL Certificate
If the tests above determine that you don’t have an SSL certificate, the solution is to get one through your web host. Before moving on, remember that backing up your site is essential when making significant changes. You should back it up before every step moving forward.
To install your SSL certificate through your web host, you must follow the steps specific to that web host.
The steps differ slightly for each host, but the process is generally the same. We use WPEngine whenever possible, so we’ll provide the steps for installing an SSL certificate through this host.
You can use the Certificate Manager if you use AWS, Google-managed SSL certificates with Google Cloud Platform (GCP), or a Let’s Encrypt certificate with Digital Ocean.
Here’s how the process goes with WPEngine:
- First, ensure you added your domain to the User Portal and that you’ve pointed DNS to your domain, allowing traffic to come from your domain to your WordPress website hosted on WP Engine. You can’t get an SSL certificate with WPEngine without these two steps.
- Now, open your User Portal.
- Select the name for your production environment and click on SSL, then on Add Certificates.
- You’ll see two options: Get Free Let’s Encrypt SSL Certificates and Import A New or Existing 3rd-party SSL Certificate.
- In most cases, Get Free Let’s Encrypt SSL Certificates is the better option unless you need a more specific certificate like a Multi-Domain certificate. If not, Let’s Encrypt certificates are free and last 90 days. WPEngine renews the certificate 22 days before expiration.
- After choosing your certificate, follow the prompts to install and activate it.
- You’ll receive a confirmation email when your certificate becomes available.
Now that you’ve installed the certificate, there are still a few steps before it’s properly configured.
Redirect All HTTP Links to HTTPS
Installing an SSL certificate doesn’t immediately protect every page on your site. Many pages will still use insecure HTTP instead of HTTPS. To make every page be served with HTTPS, you’ll need to perform a forceful HTTP to HTTPS redirection.
The simplest way to do this is using the Really Simple SSL plugin. To configure it and force your site to use HTTPS, follow these steps:
- Install and activate Really Simple SSL on your WordPress site.
- After activation, you’ll be sent to a new screen reading, “Almost ready to migrate to SSL!”
- Click on the blue Go ahead, activate SSL! button below. And that’s it.
This plugin redirects all your HTTP links to HTTPS with a single click by updating all internal links. This way, your visitors always access the HTTPS version of your site rather than the insecure one.
You can also manually accomplish this by adding the following code to your .htaccess file:
<IfModule mod_rewrite.c>
RewriteEngine On
RewriteCond %{HTTPS} off
RewriteRule ^(.*)$ https://%{HTTP_HOST}%{REQUEST_URI} [L,R=301]
</IfModule>
Mixed Content Issues
Even after you force-redirect HTTP requests to HTTPS, some contents may still be served using HTTP, leading to a warning like this one when visitors enter your site:
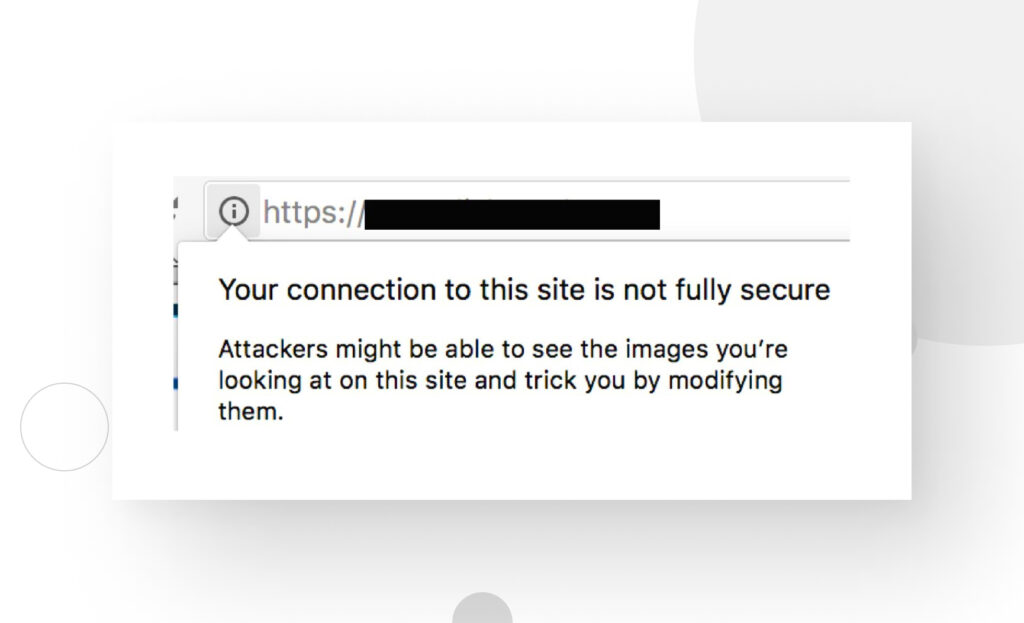
This problem is known as “mixed content” because some content, like images, scripts, and stylesheets, is being served with HTTP and others with HTTPS. The simplest way to fix the problem is to use the SSL Insecure Content Fixer plugin.
First, install and activate the SSL Insecure Content Fixer. After activation, go to Settings > SSL Insecure Content from your dashboard. You’ll be sent to a screen providing multiple solutions to the problem. You should choose the appropriate settings for your needs. These are the options and what they do:
- Simple. The fastest and most beginner-friendly solution, automatically fixing mixed content issues in scripts, stylesheets, and images.
- Content. This method applies all fixes that the “Simple” option applies but adds fixes to page content resources and text widgets. Use it if “Simple” doesn’t solve the issue.
- Widgets. Applies all “Content” fixes plus fixes to resources from all WordPress widgets.
- Capture. This method changes all links on every page to HTTPS and can affect website performance.
- Capture all. The most thorough fix but also the one that affects performance the most.
After selecting a method, scroll down to the HTTPS detection section and choose the method used to detect that a page should be loaded as HTTPS. Standard WordPress function works for most websites, but there are also methods specific to NginX or Azure servers and more.
When configuring all methods, click Save Changes at the bottom.
Update Google Search Console and Google Analytics
Google Search Console
Now that all fixes are done, you need to submit your site to Google Search Console so Google stops collecting data from the HTTP version of your site, which will become less active from now on.
To do that, follow these steps:
- Go to Google Search Console and either sign up for your website or log in to the account associated with your site.
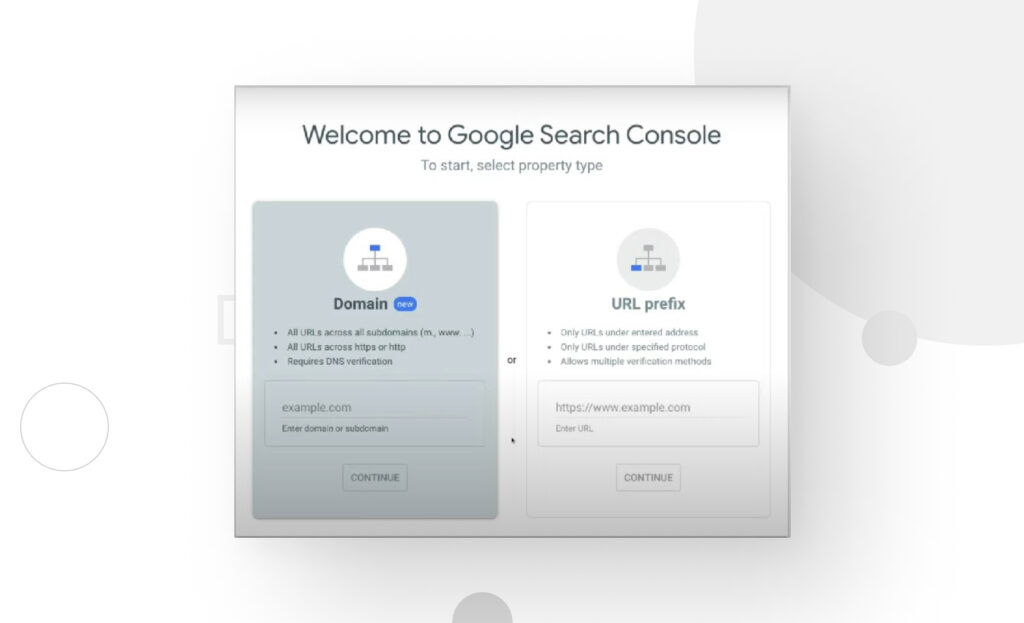
- Click on Add a Property and enter your site’s URL. Click on Continue.
- Choose the Domain option and click Continue.
You’ll now have to verify that you own the website to continue. The easiest way to do that is with the Yoast SEO plugin, which you likely have already installed. With the plugin installed, follow these steps to finish the process:
- Drop down the HTML tag. Inside, you will see a box with a meta tag. Press Copy to copy its contents.
- On another browser tab, go to your WordPress admin panel and click on SEO. Go to the Webmaster Tools tab. Find the box that says Google verification code and paste the code you copied previously. Save the changes.
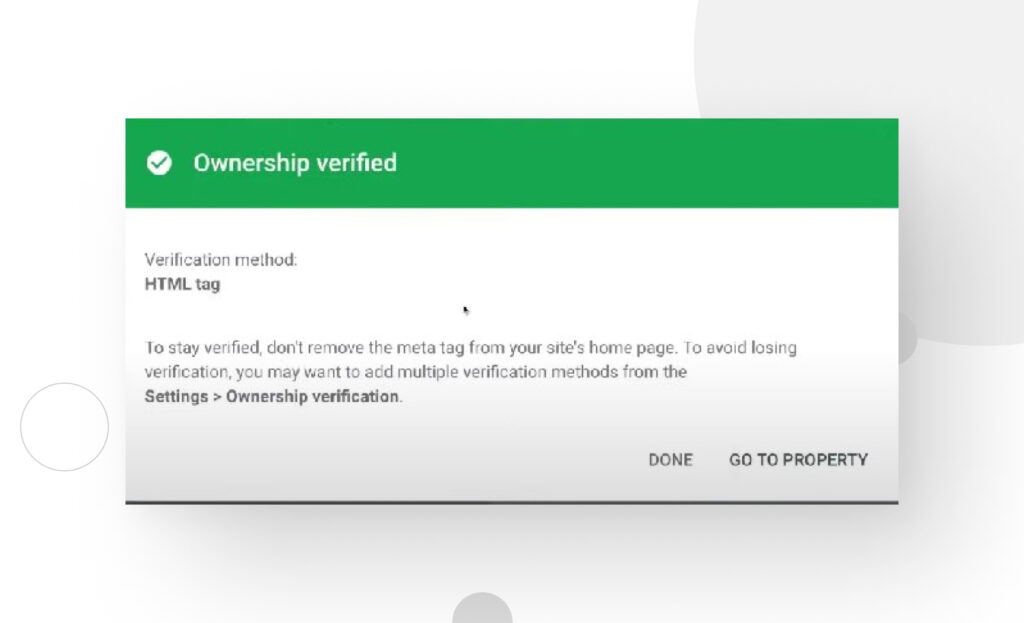
- Go back to the Google Search Console tab and click on Verify. If you follow the steps correctly, you will see a message indicating the setup was successful.
Google Analytics
You’ll have to update your Google Analytics property and view. Associating your Google Analytics and Google Search Console accounts makes this process easier. Once that’s done, follow these steps:
- Click on Property Settings > Default URL. Drop down the menu and select “https://”.
- Do the same for the view. Click on View Settings > Website’s URL. Drop down the menu and select “https://”.
What if Your Search Console and Analytics Accounts Are Not Associated?
If your Google Analytics and Search Console accounts are not associated, follow these steps before performing the changes to the Analytics account:
- Sign in to your Analytics account.
- Click Admin, and navigate to the property for which you want to enable Search Console data sharing.
- In the Property column, click on Property Settings.
- Scroll down to Search Console Settings.
- You should see your website’s URL, confirming the website is verified in Search Console and that you have permission to make changes. If you do not see the URL, follow the step above to associate your accounts (Search Console and Analytics).
- Under Search Console, select the reporting view(s) in which you want to see Search Console data.
- Click Save.
Remember that an Analytics property can only associate with one site and vice versa. If you create a new association, you’ll remove the previous one.
Why Is Your WordPress Site “Not Secure”? Likely Because of SSL Certificate Issues
The main reason your WordPress site is “not secure” is SSL, redirection, and mixed content issues.
We’ve explained quite a few steps to resolve these problems, but rest assured that when you follow them your site will be much safer for visitors. HTTPS and the SSL/TLS protocols encrypt data exchanges between browsers and servers to protect information. This is particularly important when managing sensitive information like bank accounts and medical data.
Also, your SEO ranking will improve because Google and other search engines penalize insecure pages. Relying on HTTP is unsafe, but your site now serves content only through HTTPS. We hope this was useful and you’re now free from the “WordPress site not secure” notice.
If you found this article helpful, consider reading our blog for more WordPress guides, tips, and insights.
📬 Get WordPress updates to your inbox
Sign up for WC Blog updates and never miss a post!