Uninstall WordPress from cPanel in 7 easy steps
Uninstalling your WordPress site may not be the first skill you’d think to develop during your developer journey. However, there are cases where you may need to uninstall WordPress as part of a migration process, permanent deletion, or many other cases.
This article explores how to uninstall WordPress from cPanel and the reasons that may lead you to do so. While it can be nerve-wracking initially, we’ll do our best to present the process in the most beginner-friendly way possible.
Let’s get started.
Uninstall WordPress from cPanel in 7 steps
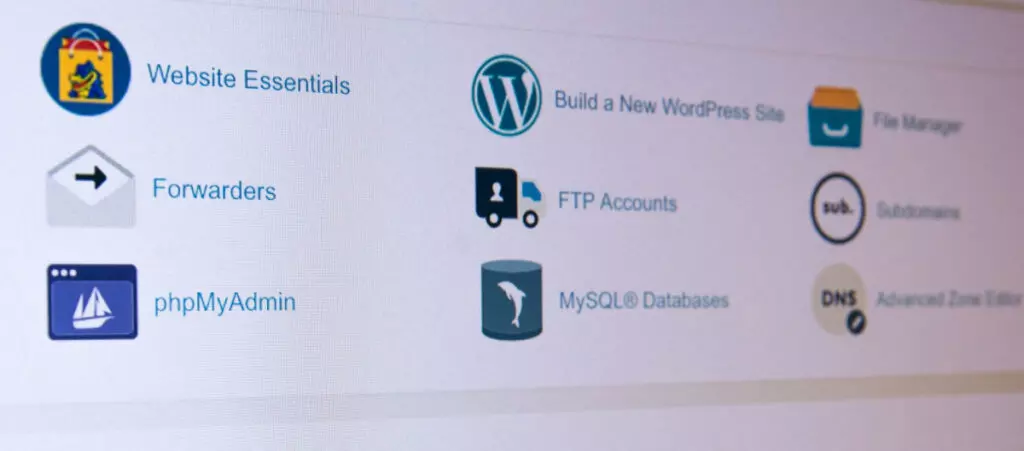
cPanel is one of the most popular web hosting control panels. It allows owners and admins to manage websites from a user-friendly interface. While some hosting services like Hostinger have proprietary control panels, many use cPanel as part of their plans.
Using cPanel, the basic process of uninstalling WordPress is as follows:
- Back up your site first. Only do this if you plan to preserve or retrieve your site in the future. If in doubt, back it up.
- If you plan to migrate your site, set up any necessary 301 redirects.
- Check your database’s name and associated username and password before deleting it.
- Delete your database and associated username and password.
- Delete all WordPress installation files.
Now that we know the general process, let’s guide you step-by-step on how to uninstall WordPress using cPanel.
Step 1: Back up your WordPress website and database
Depending on why you’re uninstalling WordPress, the first step may be to back up your site.
Keep in mind that if you plan to never use this site again, you may not need a backup at all. However, if you plan to migrate manually or need to keep your files, configurations, and database just in case you ever have to retrieve your site, create a backup. Also, if in doubt, make a backup anyway, just to be sure.
You can back up your site manually, through a plugin, or your web host. Since it’s one of the most popular options, here’s how you can back up your website and database using the UpdraftPlus plugin’s free version.
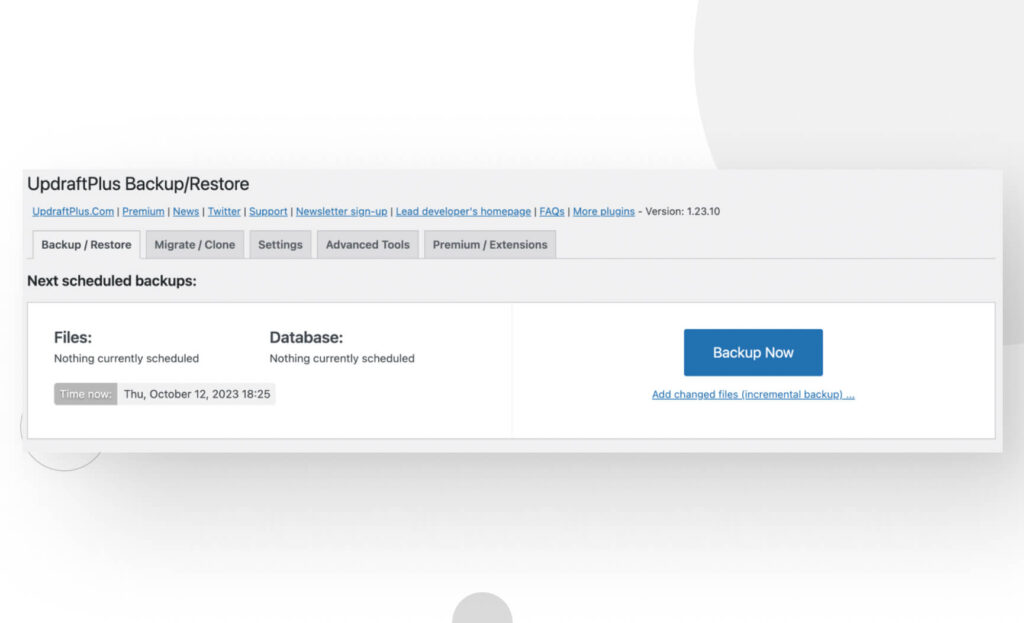
Once you’ve installed and activated UpdraftPlus, go to Settings > UpdraftPlus Backups and click Backup Now.
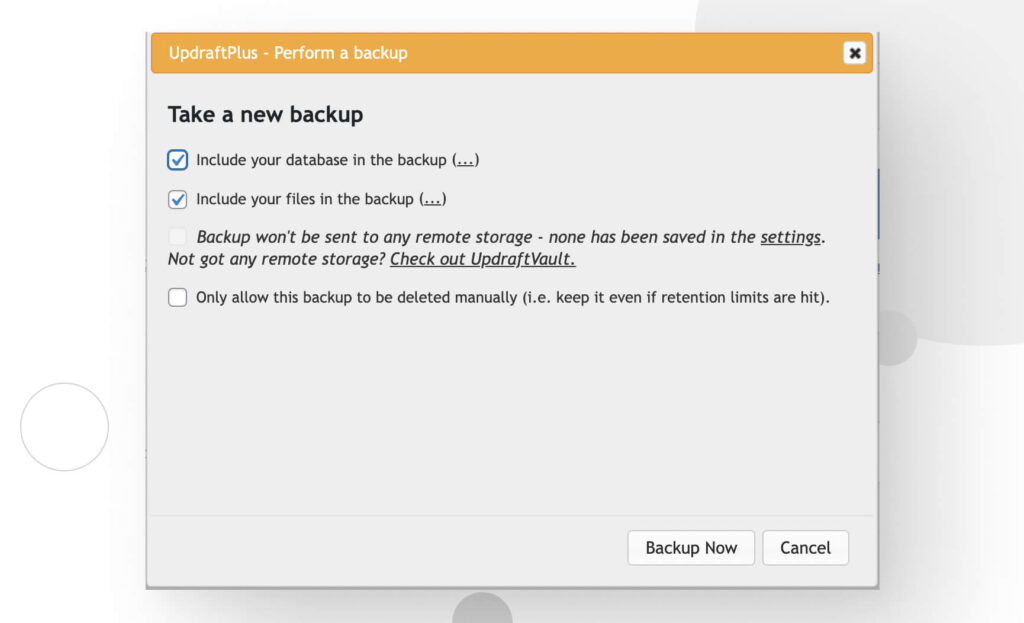
A lightbox will appear. In it, you can choose whether you want to back up your WordPress files and database. If you’re going to preserve your site, you should back up both. You can also choose to send the backup to a previously configured remote location. After configuring the backup, click Backup Now.
You may have to wait a few minutes for the backup to be ready, especially if you configured a remote location.

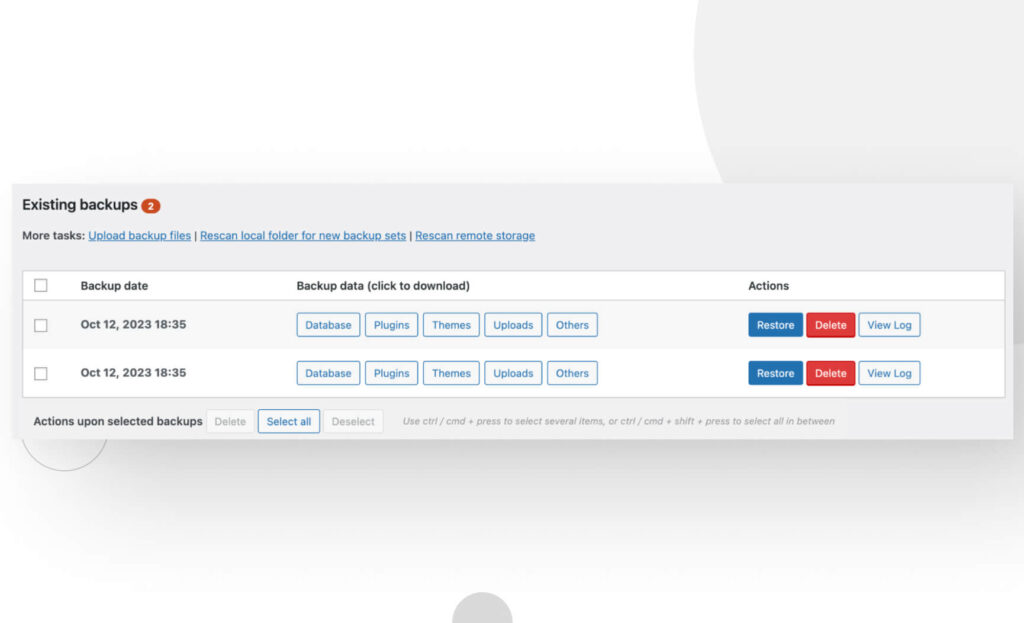
After it’s done, scroll down to the bottom of the page, and you’ll see your current backups. You can download individual components from your site or use Command/Control + Left Click to download multiple components simultaneously.
And with this, you’ve successfully backed up your site! Let’s move on to step 2.
Step 2: Create a 301 redirect
If you’re uninstalling WordPress from cPanel as part of a migration, you must set up 301 redirects ahead of time.
Setting up redirects ensures users can access all your resources, prevents broken links, and optimizes indexing since search engines will be able to crawl and index the correct URLs. This also preserves your site’s SEO.
Like backups, there are three ways to create 301 redirects: manually, with a plugin, and through your web host. We do not recommend manually setting up redirects because it’s highly prone to human error and not very user-friendly since you have to edit your .htaccess file directly.
That leaves us with plugins and web hosts. Here’s how you set up redirects with each.
Note: If you don’t plan to migrate your site, you can skip this and go to step 3.
Setting up 301 redirects with a plugin
To be frank, we don’t recommend setting up redirects with a plugin either, but many opt for this method, so we’ll include it.
Redirection is the most popular 301 redirection plugin, so we’ll use it for this guide, but there are others out there you can try. Once you’ve installed and activated it, go to Tools > Redirection. Go to the Redirects tab, the main redirection manager.
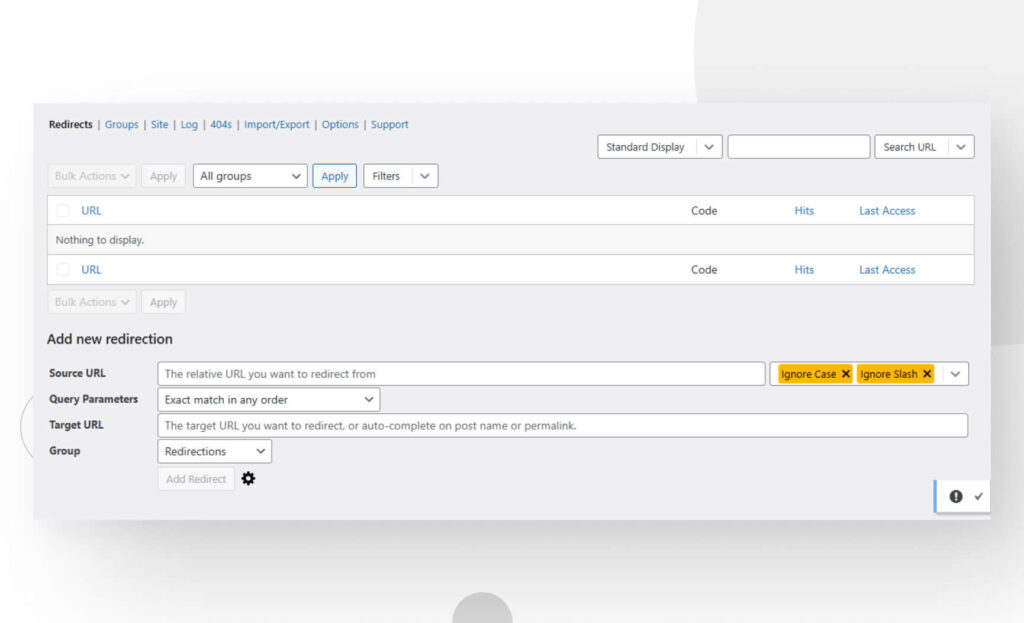
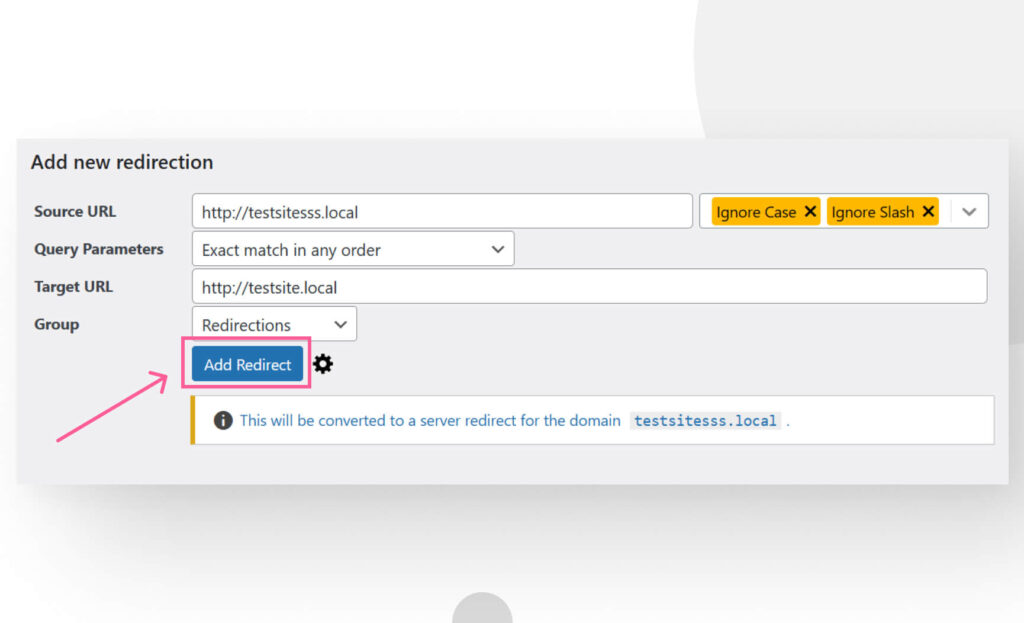
Go to Add new redirection and enter the Source URL (the URL from your current site, which you’re about to uninstall) and the Target URL (the new URL you want to direct users to). Keep in mind that this only works if you have access to both URLs.
Input both URLs and click on the Add Redirect button.
Once you do, the redirect will appear at the top of the Redirects tab.
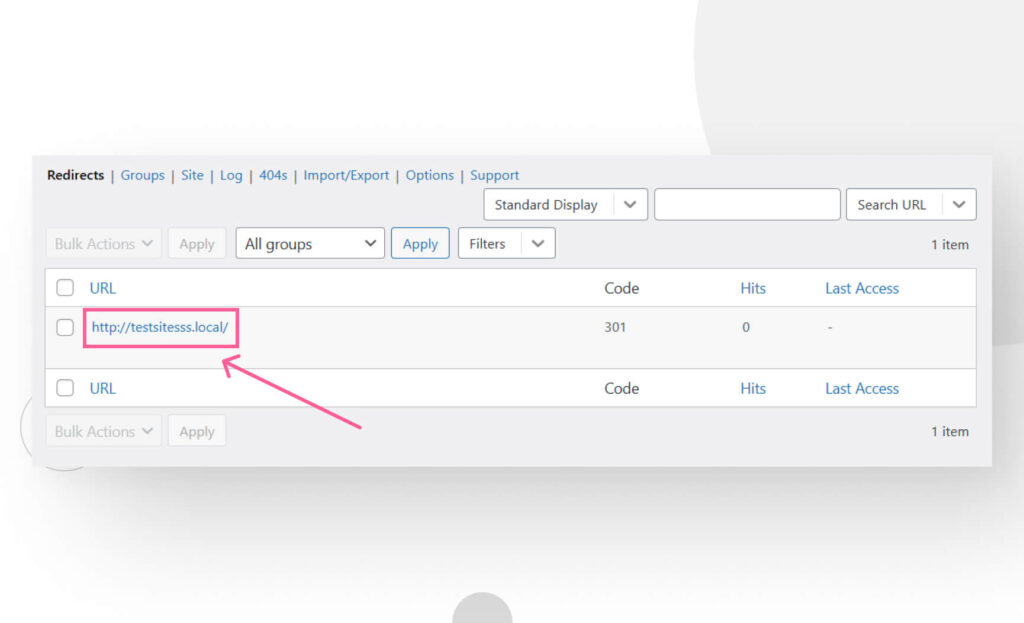
You’ll have to repeat the process for every URL you want to redirect.
Setting up 301 redirects with your web host
This is the best method for setting up 301 redirects. Every web host has a different process for setting up redirections, but they’re all very similar.
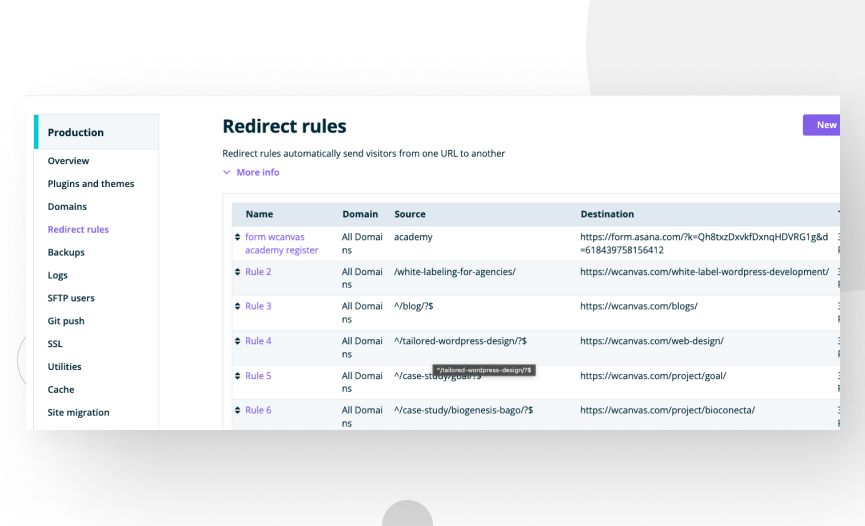
We’ll use WP Engine in this example. Log in and access the User Portal. Click on Redirect rules on the left-hand sidebar, then click the New redirect rule button. Configure your redirect and click on Save or Add another.
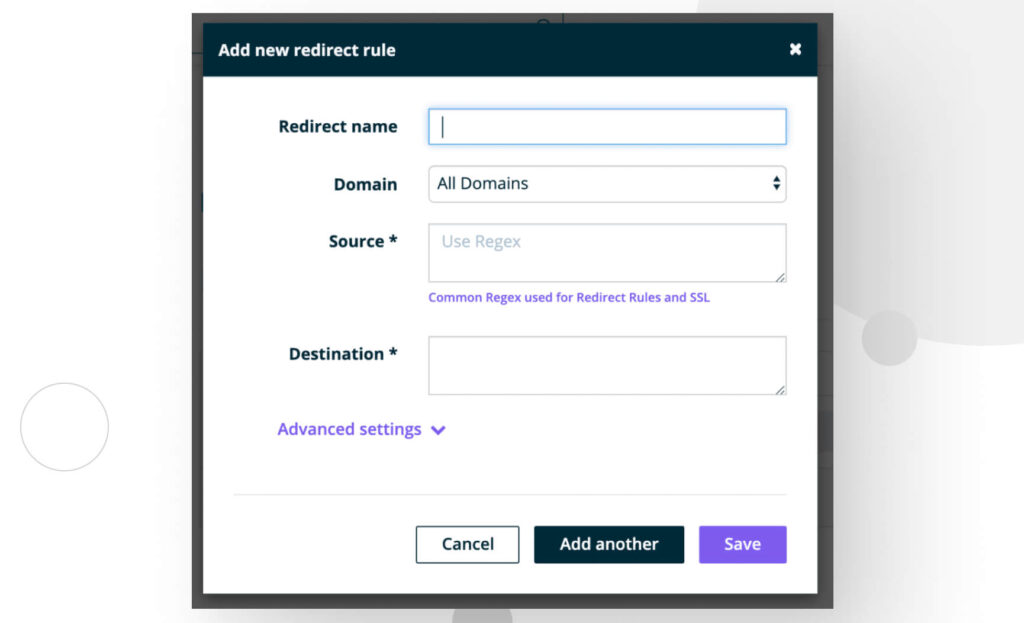
These are the fields you need to fill:
- Redirect name. A short descriptor for the redirect.
- Domain. The domain(s) where you want to apply this rule.
- Source. The old URL you want to redirect. If you want to redirect “http://your-domain.com/blog/post-157”, you have to input “^/blog/post-157/?$”. The “^” symbol means “start here,” and “?$” means “end here.” The domain name(s) are already applied in the Domain field. You don’t have to write it again. This field also supports regular expressions for matching multiple pages within a site’s subdirectory.
- Destination. The new URL you want users to access.
Keep in mind that WP Engine doesn’t recommend adding more than 1,000 redirect rules to the User Portal. If you need to add more than 1,000 redirect rules, WP Engine recommends using the Redirection plugin we explained above. Explore your web host’s redirection features and check for redirect rule limits like this one.
Step 3: Log in to your cPanel account
Now that the setup is done, let’s get going with the uninstallation, starting with your login.
To log into your cPanel account, do it from your hosting account’s dashboard or go to your-domain-name.com/cpanel.
Step 4: Navigate to the public_html directory
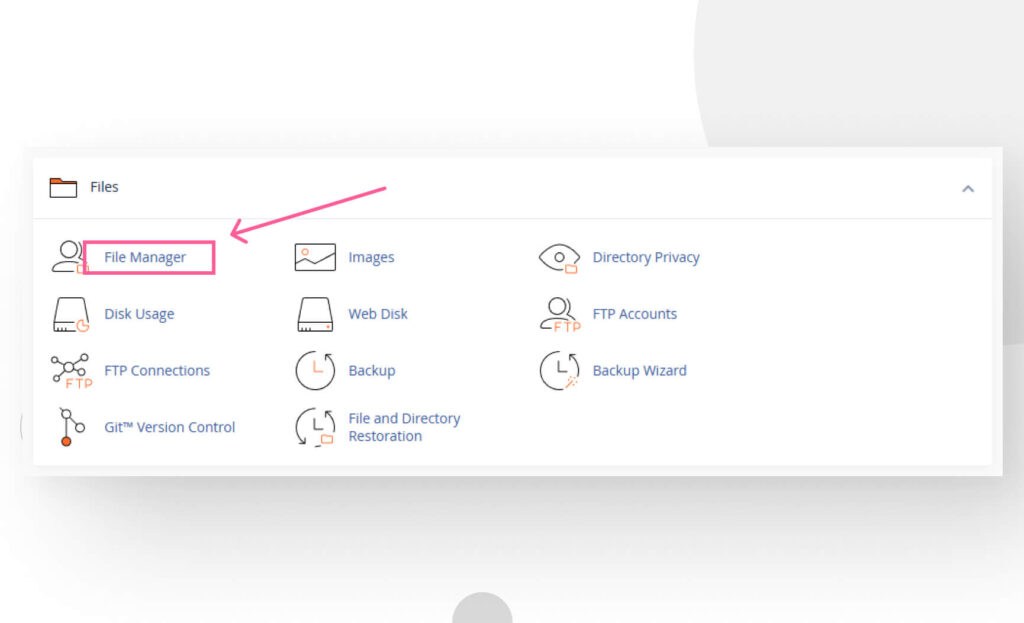
From the main dashboard, go to the Files section and click on File Manager.
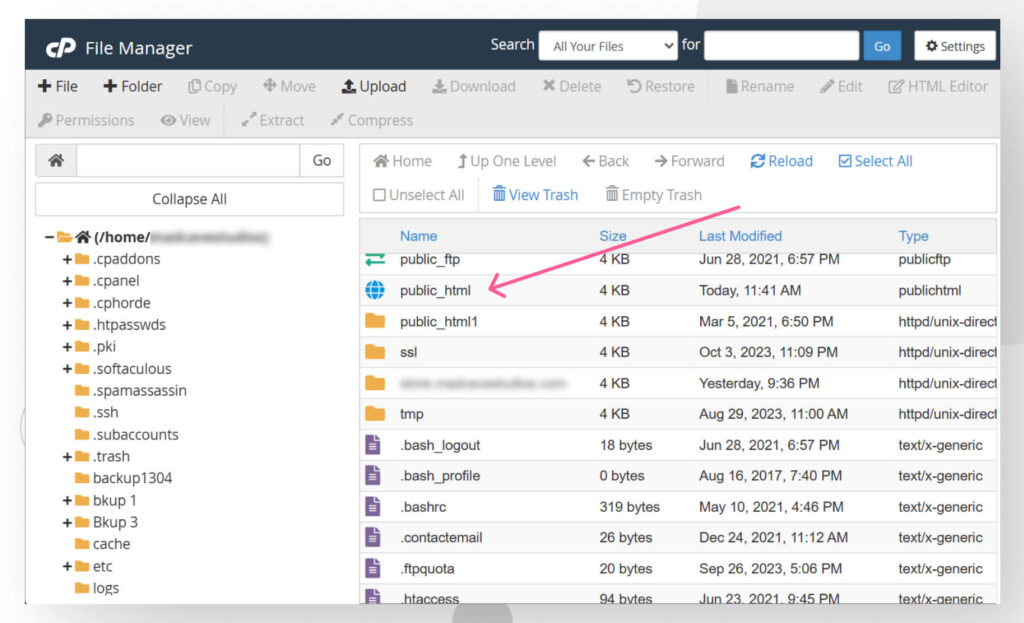
On the following screen, go to the public_html directory. In some cases, it may have a different name, such as / or root, public, root_html, or your website’s name.
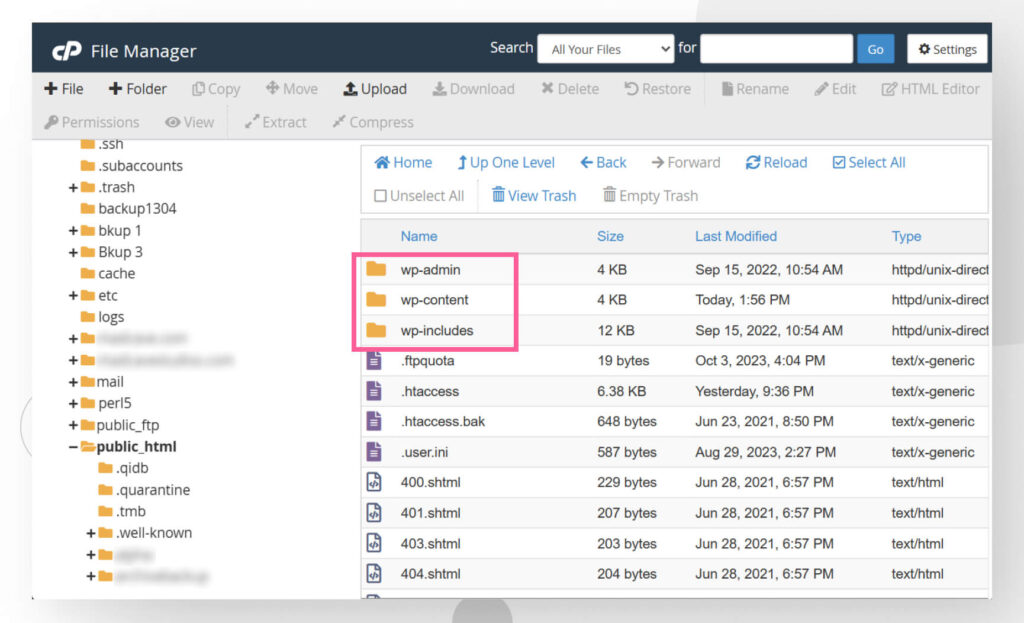
public_html contains the root WordPress directory with the three main folders (wp-admin, wp-content, and wp-includes) and the rest of the core files.
Step 5: Check your database name, username, and password in wp-config.php
Before deleting the core WordPress files and database, look at the wp-config.php file. Right-click it and select View or Edit to access its contents. Now look for the lines that contain the username and password associated with your website’s database:
For your database name, look for a line that looks like this:
define(‘DB_NAME’, ‘database_name_here’);For your username, look for a line that looks like this:
define(‘DB_USER’, ‘your_username_is_here’);And for the corresponding password, look for a line that looks like this:
define(‘DB_PASSWORD’, ‘your_password_is_here’);Take note of your database name and corresponding username and password. You’ll need it when deleting your database.
Step 6: Delete the WordPress database and associated username
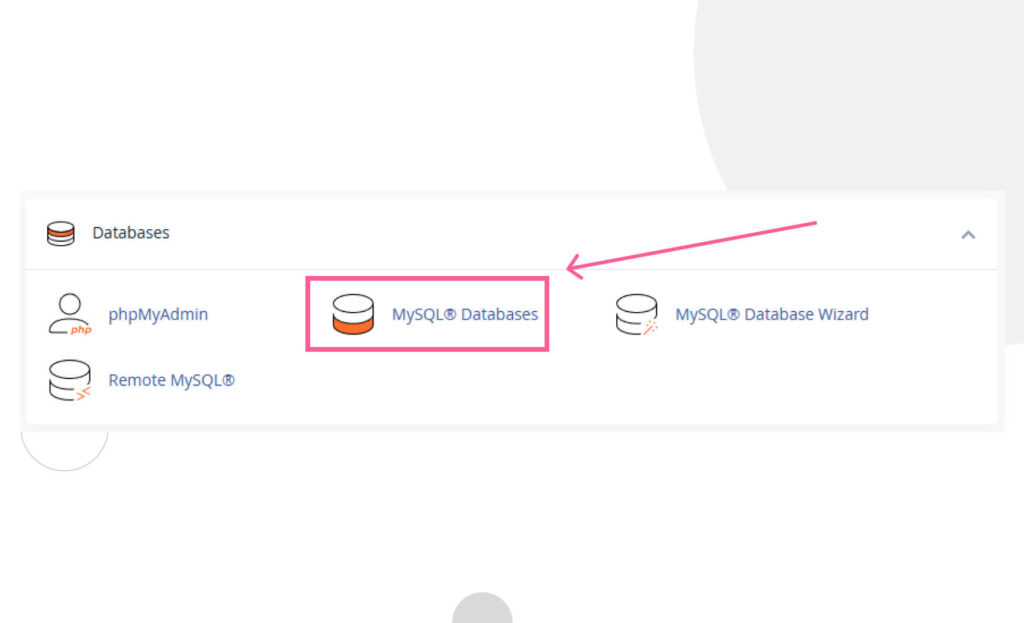
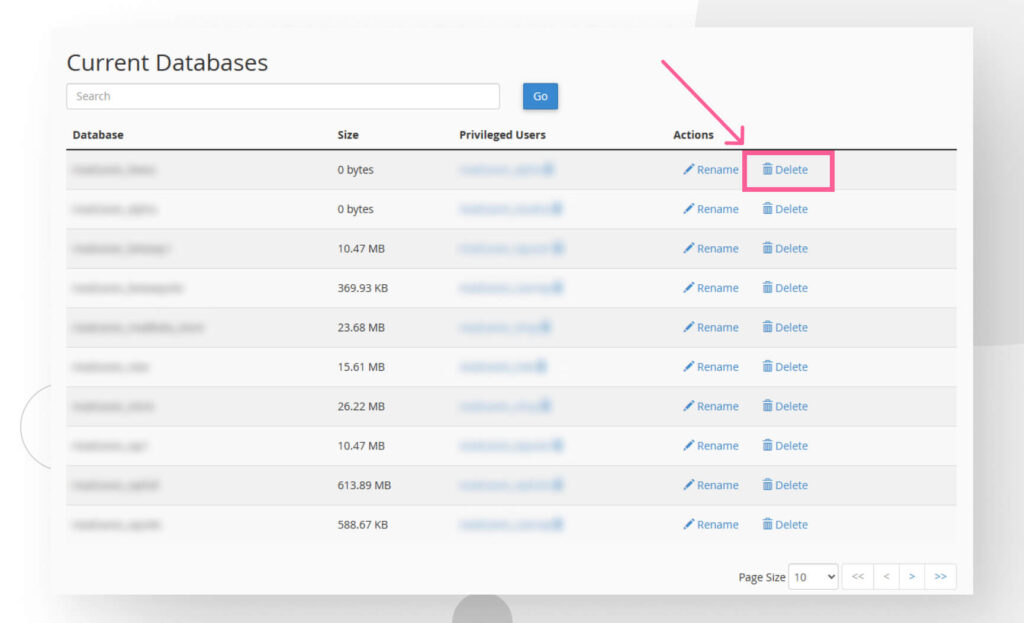
Let’s first delete the database. Return to the main cPanel dashboard and click MySQL Databases in the Databases section.
On the following screen, scroll down to the Current Databases section. You’ll see a list of active databases. Find the database associated with the site you’re trying to delete and click on the Delete button on the right side.
Now repeat the process for the username associated with that database. Scroll down to the Current Users section, find the username you took note of in the previous step, and delete it.
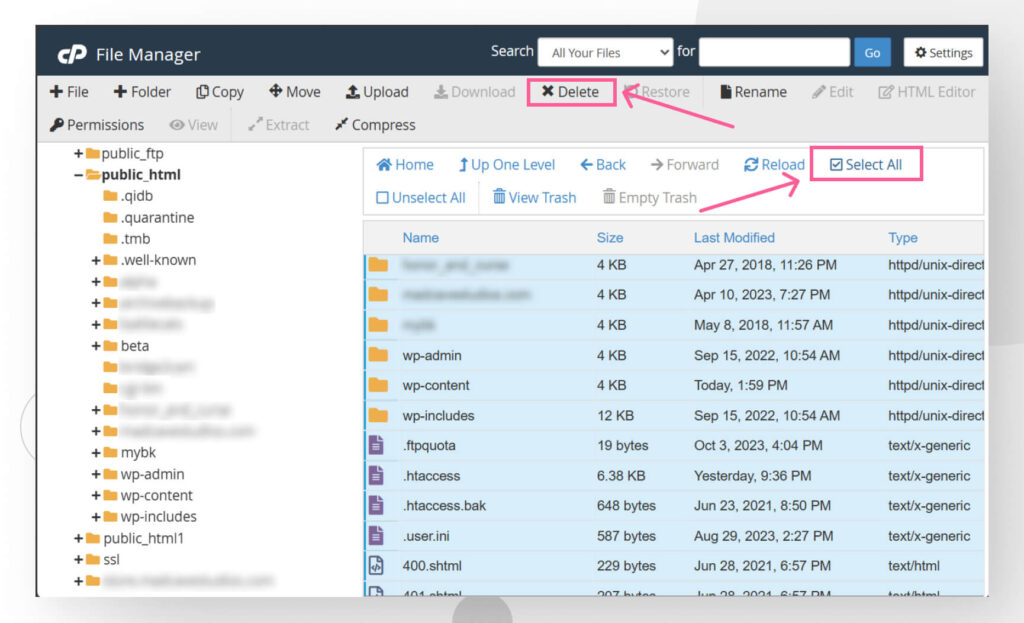
Step 7: Delete the WordPress core files
Now that your database and username are deleted, it’s time to delete the files containing your installation and website content.
Navigate back to your root directory by going to File Manager > public_html. Once there, you can drag your mouse across all files to select them all, or you can select any of them and then click on Select All in the command bar at the top. Finally, click Delete.
And that’s it! You’ve successfully uninstalled WordPress using cPanel.
Why uninstall WordPress from cPanel?
There are a few reasons why you would uninstall WordPress from cPanel, such as:
- A security crisis. If your website has become compromised to the point that the best course of action is to uninstall it, be more mindful of security features, and restart from a backup. In these cases, using cPanel could be the first step in the process.
- You’re migrating your site. While there are other easier and more automated ways to move your website to a different server or web host, it’s possible to migrate manually. When doing so, you may decide to uninstall WordPress using cPanel.
- You want to restart from scratch. If you’re going to reboot your site, you may choose to scrap your current site with cPanel before setting up the new one.
- You’re closing your site permanently. If you plan to suspend hosting services for your site, you may as well delete everything in it.
Wrapping up
Uninstalling your website for the first time can seem daunting, especially if you lack web development experience. However, cPanel is a user-friendly web hosting control panel you can use to manually uninstall your WordPress site by simply following a series of prompts.
This skill will serve you well if you ever want to migrate your site to a new provider, reboot it, close it permanently, or purge it from malicious code before rolling back to a backup (addressing the security issues first).
Whatever the case, this seven-step guide will help you achieve your goals.
If you found this post helpful, read our blog to explore more WordPress guides, tips, and insights!
📬 Get WordPress updates to your inbox
Sign up for WC Blog updates and never miss a post!