Can you build a WordPress site without hosting?

WordPress is the world’s most popular content management system (CMS). To explore the platform’s features, you’d generally need to pay $75 to $100 per year to host your site and maintain a domain name. If you don’t have or aren’t willing to pay that amount, you may wonder if you can build a WordPress site without hosting services.
The answer is yes. Since WordPress has such a large and collaborative community, we’ve developed two ways to use WordPress without paying for hosting: using a local installation or using WordPress.com’s Free plan.
Let’s explore each option and how to set them up to determine which works best for your needs.
Key takeaways
- Web hosting is the service of providing storage space and public access to your website.
- The yearly cost of hosting and maintaining a WordPress site’s domain name is $75 to $100.
- You can use WordPress without paying for hosting by using local installations or WordPress.com’s Free plan.
Why do you need web hosting for WordPress sites?
Web hosting is the service of providing server storage space and access for websites. The companies that provide web hosting are called “web hosts” or “web hosting providers.” Their job is to own and maintain the servers that power the websites of individuals and organizations in exchange for a monthly or yearly fee.
You need web servers to store your WordPress site, including the core files (the files that make WordPress work), plugins, themes, and media (images, audio, and video). Without a web server connected to the internet storing these files, your site would not be accessible to the rest of the world.
While the WordPress software is a free and open-source content management system (anyone can download and use it), it’s also self-hosted. That means you, the website owner, must purchase at least a domain name and a web hosting plan for your WordPress website to be publicly available.
The domain name determines your website’s address, such as www.example.com, and the hosting plan ensures your site is available to the world. Buying and maintaining a domain name and hosting provider plan can cost as low as $75 to $100 per year.
Can you build a WordPress site without paying for hosting?
Yes, you can.
Depending on where you live and whether you’re just starting to explore WordPress to become a web developer, you may not have $100 or the desire to pay them.
Luckily, there are 2 ways to build a WordPress site without paying a hosting provider or purchasing a domain name.
2 methods to create a WordPress site without paying for hosting
Method 1: Install WordPress locally
The best way to get the full WordPress development experience without paying for hosting is to install WordPress locally on your machine. In WordPress development, we call these installations “local environments.”
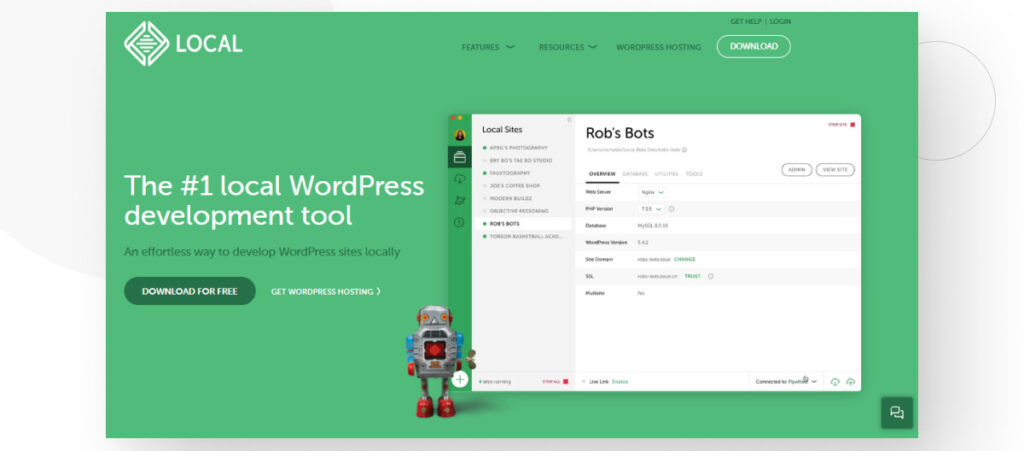
There are multiple software solutions for creating local WordPress environments, but the one we use is the aptly named Local app. Local is a Windows, MacOS, and Linux (Ubuntu and Pop!_OS) app that allows you to create WordPress websites in your local computer in minutes, giving you instant access to all its tools and free plugins and themes.
Let’s go through the steps of setting up your first local WordPress site for free.
Step 1: Download and install Local
Go to Local’s official website and click on Download for free.
After downloading it, install Local, following the necessary steps on your platform.
Step 2: Create a new WordPress site
Local is very user-friendly, so as soon as you open it, it’ll prompt you to create a new WordPress site. Click on the green Create a new site button to start the process.

On the following screen, click Create a new site and press Continue in the lower-right corner.

Step 3: Configure the site
To create a fully functioning WordPress site, you must go through 3 quick and easy steps. Let’s go through each step.
Step 3.1: Name your site
Type a name for your new site. It can be any name.
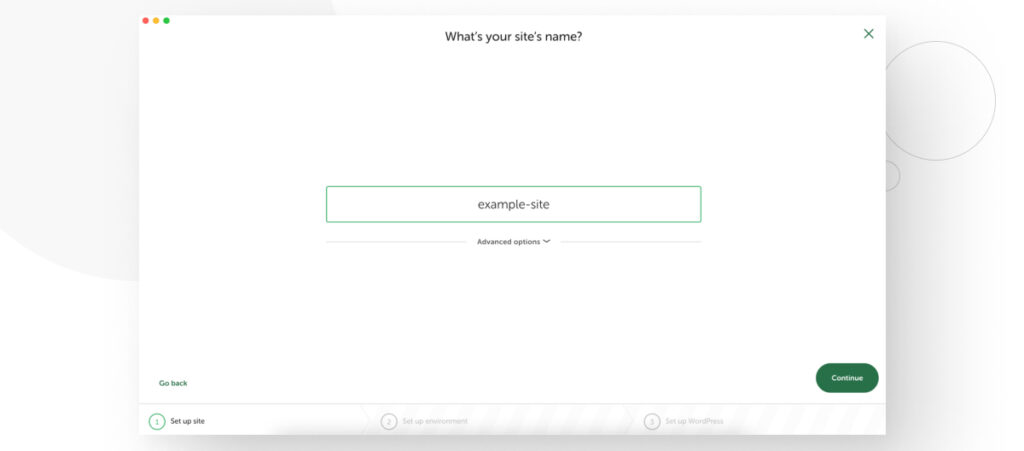
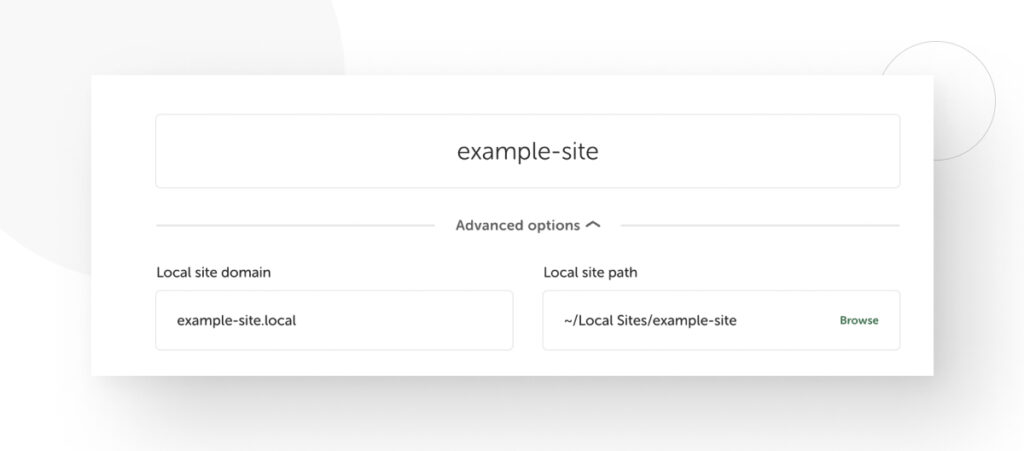
After typing the name, you can click Continue or press on Advanced options to edit the site’s local domain (it can be different from the name you typed) and the site’s location in your computer. In most cases, leaving the default values is the best choice.
Step 3.2: Set up your environment
In this step, you’ll choose the local server’s PHP version, server type, and database version. Since we want a fully updated WordPress site, we’ll choose Preferred to use the default configuration. Click on Continue.
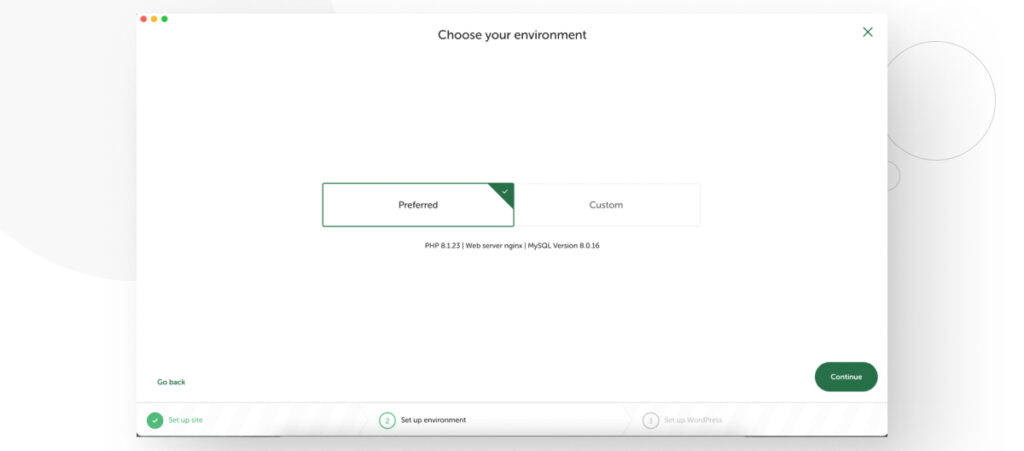
You’d only choose Custom if you need to test a specific version of PHP, the database, or the server software. In most cases, that’s not what you want, so just use the default values.
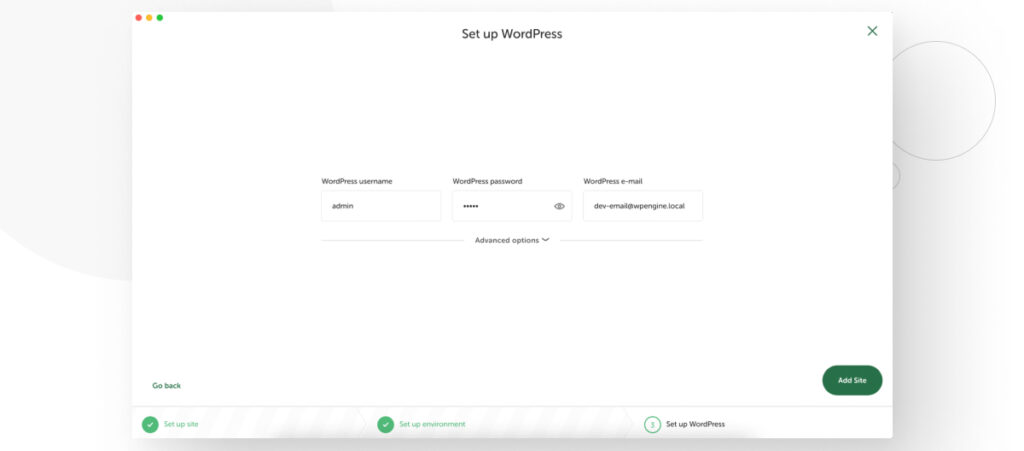
Step 3.3: Set up your username, password, and email address
Type your admin username, password, and email address. You can click Advanced options to choose whether to make this a multisite installation, but that’s not what we want right now, so leave that option as it is. Click on Continue.
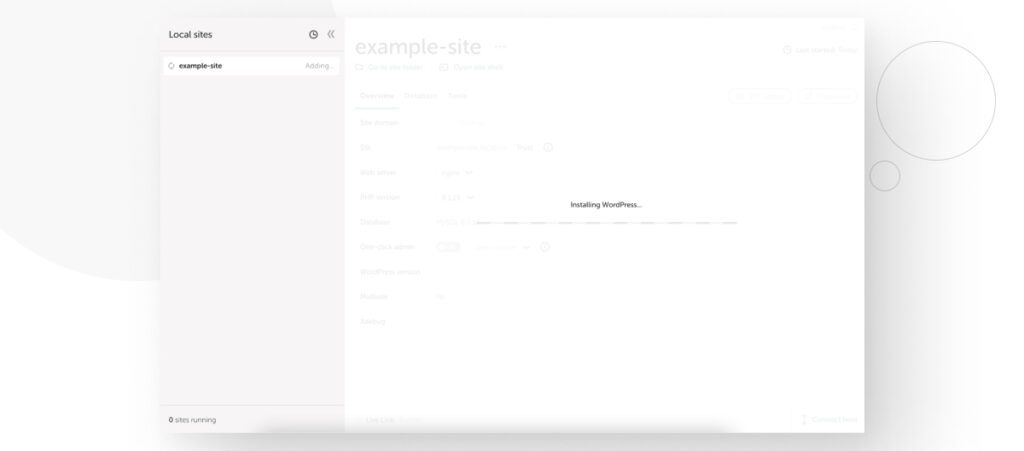
Now, Local will start creating your site. You’ll see a buffering animation for about a minute.
Now your site is ready to use and you see all the information about it (PHP version, multisite or not, etc.).
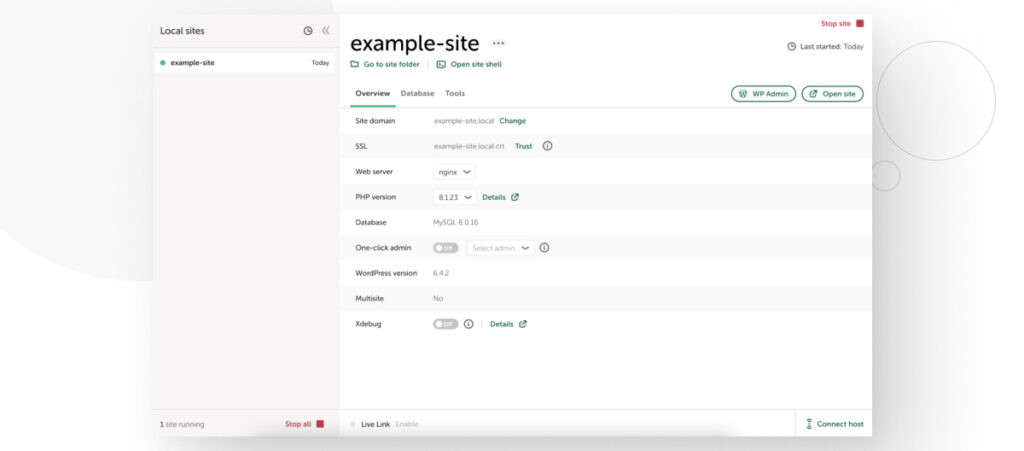
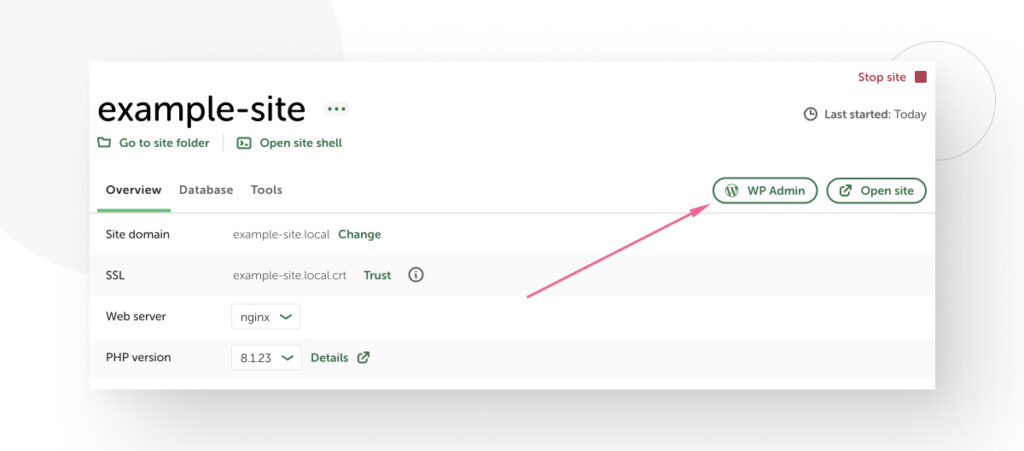
To start using your site, click on WP Admin.
Your new WordPress site will start running in your browser as if you were visiting any website online. Type in your username and password and click Log In.
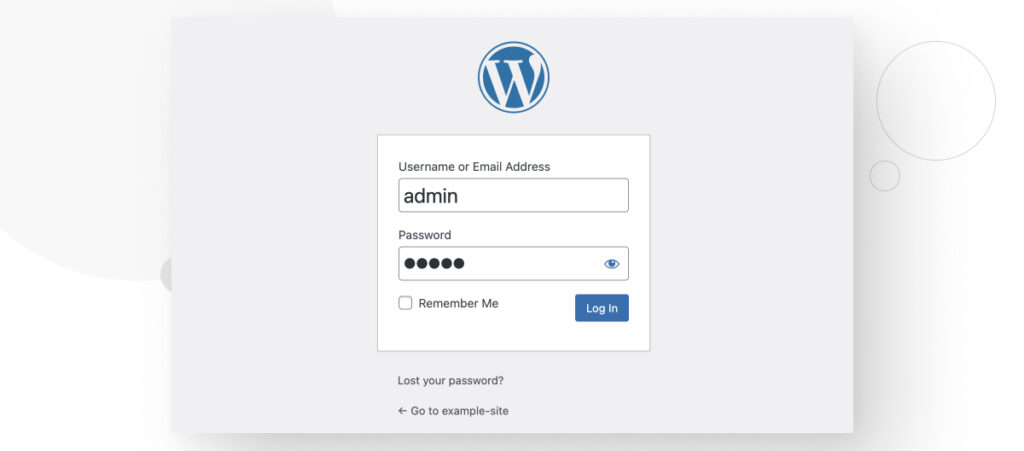
Now you are in your admin dashboard. From here, you can start editing settings, writing posts, downloading plugins and themes, and doing everything else you can do on a WordPress site after paying for the domain name and hosting.
Keep in mind that your site is not online. It’s a local installation, meaning you are the only one who can access it. You can use local installations to study WordPress development without spending money on domain names and hosting.
Keep in mind that using local installations does have some limitations. For example, some plugin features that require your site to be live on the internet may not work correctly or at all because your site is offline. But for the most part, plugins work properly, and you’ll have little trouble getting your site up and running.
Method 2: Use WordPress.com
The second method for using WordPress without paying for hosting is using WordPress.com. WordPress.com is used mainly as a blogging platform that runs on a modified version of the free WordPress software we used on the first method.
WordPress.com is essentially a managed web hosting service that allows you to set up a website in a couple of minutes. The platform is free on the most basic plan, but you can also pay for more advanced plans that give you extra storage space, ecommerce features, and other extra functions. Read our article about the difference between WordPress.org and WordPress.com to know more.
For this guide, the free plan is more than enough since you don’t have to pay for the domain name or the hosting. Let’s walk you through the process.
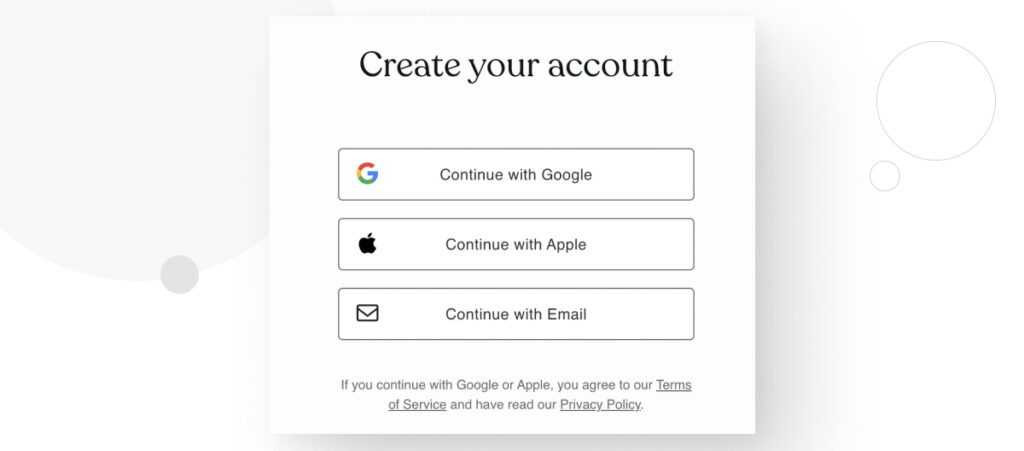
Step 1: Create a WordPress.com account
Click here to create an account with your Google or Apple account. You can also just your email.
Step 2: Choose your domain name
Your domain name identifies your site and is what you’ll see on your browser’s URL bar. Type the name you’re interested in, and WordPress will give you various options. If the domain you typed is already registered, you’ll have to choose a different one.
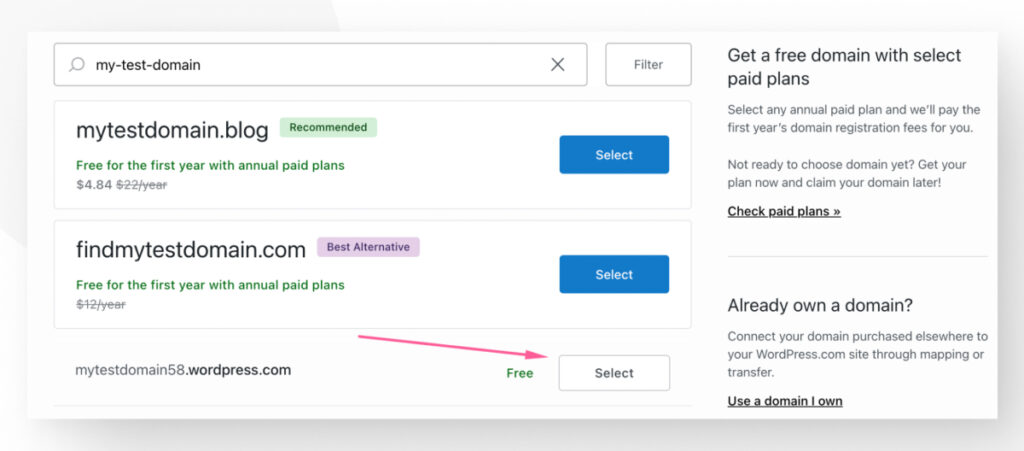
By default, your URL will look like https://mytestdomain55.wordpress.com/. If you want to remove the wordpress.com/ and have it look like https://mytestdomain55.com/, you’ll have to pay for a domain name.
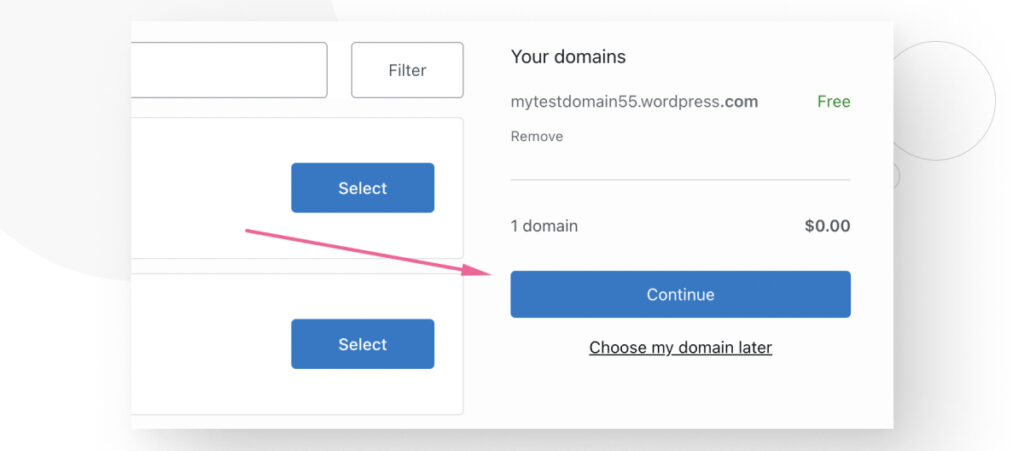
Once you’ve chosen your domain name, click Continue.
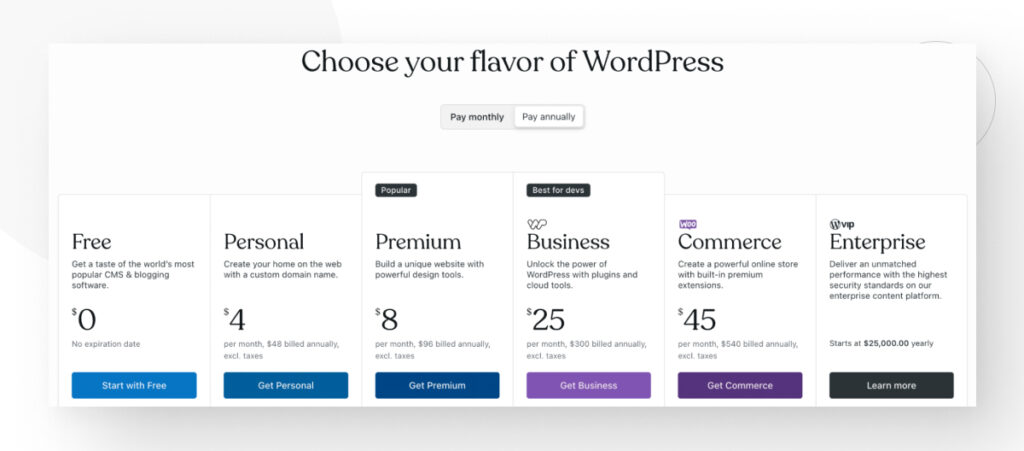
Step 3: Choose your plan
There are multiple plans that provide various perks, such as ecommerce support. In this case, we’ll use the Free plan.
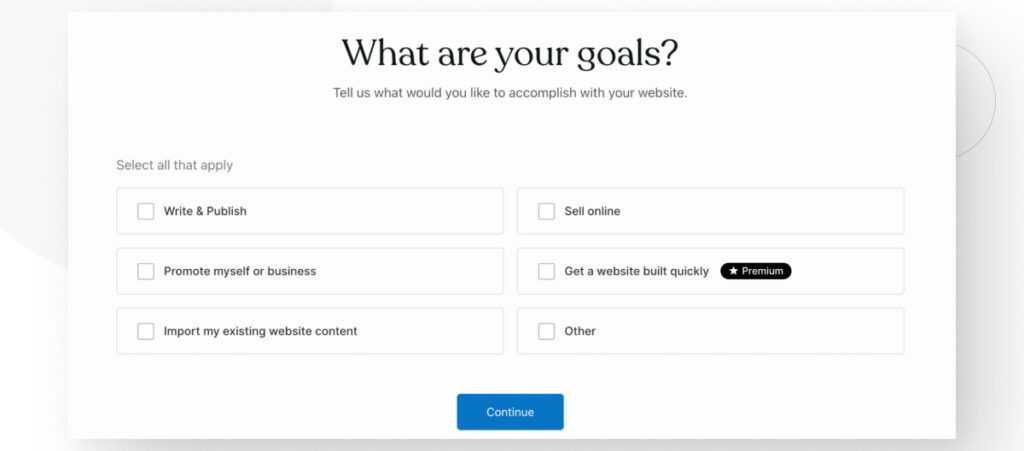
Step 4: Configure your site
Now, you’ll choose what you want your site to be. In this case, we want to create a blog. Click Continue.
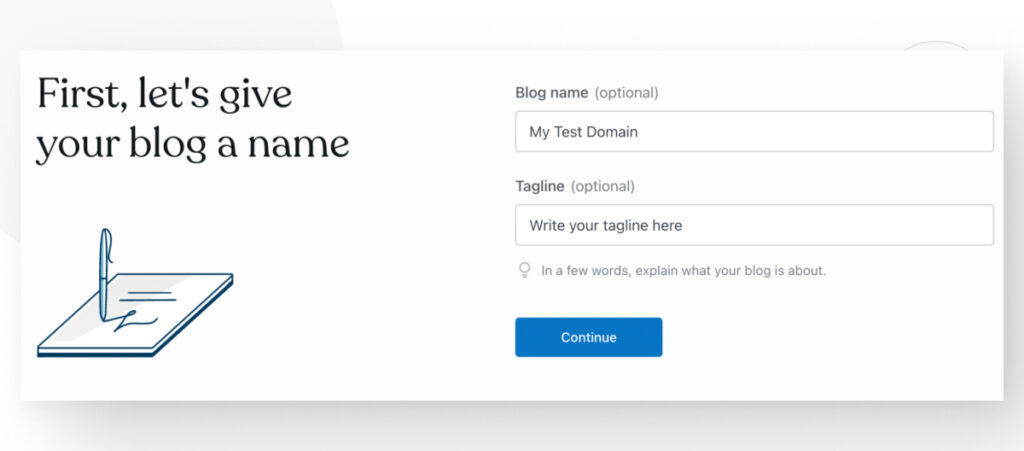
Choose your site’s name and tagline.
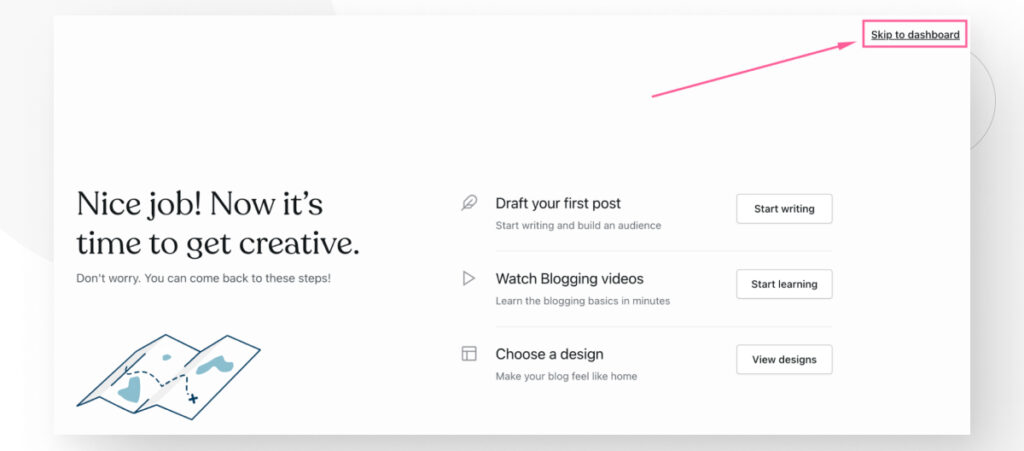
Finally, you can draft your first post, watch instructional videos, edit your site’s design, or jump straight to your dashboard. Click on Skip to dashboard.
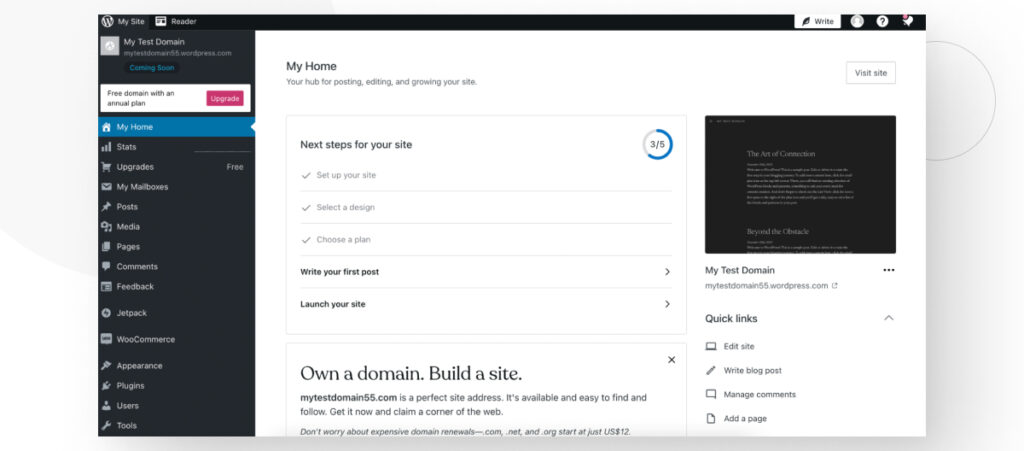
Step 5: Explore your dashboard
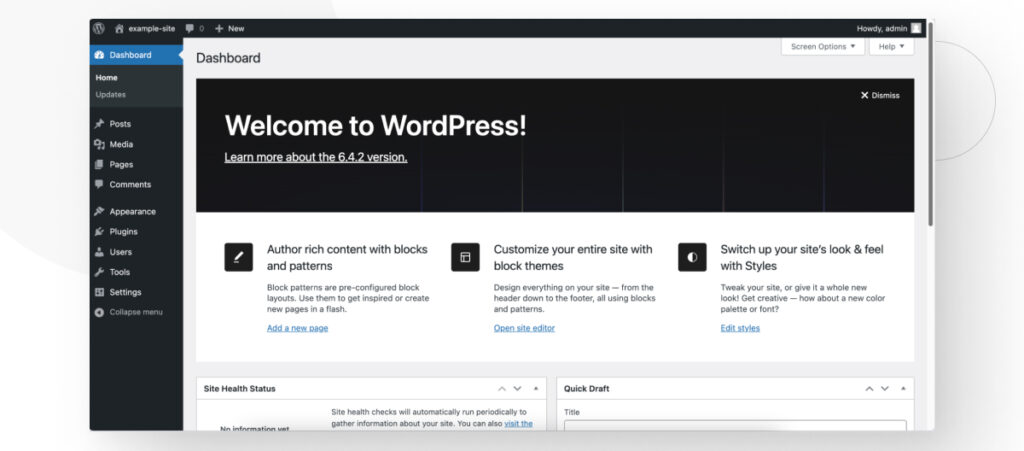
By now, your website is live! You’ll be in the WordPress dashboard, the main administrative interface. It serves as a central hub site where you can access various tools and features to manage different aspects of the website.
Now, you’re free to edit your site and post content. You can also update your plan whenever you want.
While using WordPress.com, keep in mind that it’s more limited in terms of customization and overall development than the first method (local installations). If you only want to use WordPress for blogging, WordPress.com works fine, but if you want to unleash WordPress’s entire toolset, it’ll come up short.
Benefits of building a WordPress site without hosting
Building WordPress sites without paying for hosting services is a good way to get into WordPress development, especially in the early stages when you may not want to invest in a website you don’t need right now.
In addition to saving on costs early in your education, these are some of the benefits of building a WordPress site without hosting:
- Gaining hands-on experience in WordPress development by exploring themes, plugins, and website settings.
- Enjoying the flexibility of local installations, which you can later export into live websites if you decide.
- Not committing to a specific domain name when you’re still planning your online presence.
- Building a WordPress site in less than 10 minutes, either locally or with WordPress.com.
- Making WordPress development accessible to people who cannot afford hosting fees.
- Not worrying about security breaches while you learn, since your local WordPress installation is accessible only to you. In the case of WordPress.com sites, the platform manages all security needs for you, even on the free plan.
Building WordPress sites without paying for hosting is a very cost-effective and low-risk way to explore, learn, and experiment with the WordPress CMS before committing to traditional hosting services.
You can build as many WordPress sites as you want without hosting
Using either local WordPress installations or WordPress.com, you can build as many websites as you want to hone your web development skills or quickly build an online presence.
Use whichever works best for your needs. Using local environments is the best method if you want to become a WordPress developer because you’ll have all of the platform’s powerful tools at your disposal. On the other hand, using WordPress.com to host your site for free is best if you only want to create a simple blog or personal website.
Hopefully, this post was helpful, and you now know which option is best for your goals. If you found this post useful, read our blog for more WordPress insights and guides!
📬 Get WordPress updates to your inbox
Sign up for WC Blog updates and never miss a post!