
How to set up Google Search Console on WordPress sites using Yoast SEO
Google Search Console is one of the best free tools for managing and monitoring your site’s organic search result appearances. Follow these steps to easily integrate it into your WordPress site.
Google Search Console (GSC) is a free tool for managing your website’s performance in Google search results. This makes it an essential tool for site owners who run a digital business or want to drive traffic to their site and manage search result issues.
Keep reading to learn how to start using and managing Google Search Console on your WordPress site using the most popular SEO plugin, Yoast SEO, and reap its many benefits.
Key takeaways
- Google Search Console is a free tool for monitoring, managing, and troubleshooting search result problems for WordPress sites.
- There are multiple ways to integrate GSC with your WordPress site, with Yoast SEO offering one of the most user-friendly ones.
- Integrating your WordPress site with GSC using Yoast SEO only requires basic computer skills since the plugin takes care of all technical matters.
- After integrating with GSC, you can set up your robots.txt file and submit your sitemap to Google, two essential steps to rank high in search results.
What is Google Search Console? What is it useful for?
Google Search Console is a free Google service that helps site owners understand how their website is performing in Google search results. Its main functions are monitoring, managing, and troubleshooting search result problems.
GSC is useful for the following purposes:
- Confirming whether your site can be crawled and indexed by Google.
- Receiving alerts if Google detects indexing issues on your website or if your site gets penalties.
- Fixing indexing issues and submitting requests to index new or updated content.
- Submitting a sitemap and robots.txt file to Google.
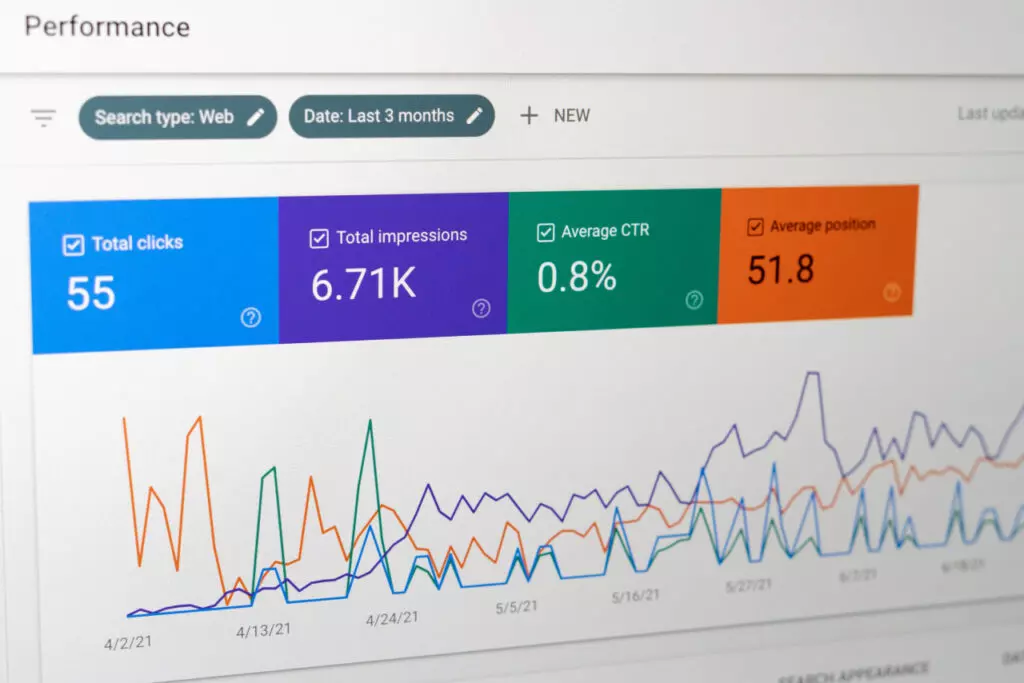
- Checking your site’s traffic data in Google Organic Search: how often your website appears in Google Search (impressions), the queries associated with your website’s search result performance, and how many times users click on your results, among other relevant data.
- Knowing your most linked pages, internally.
- Knowing which external websites link to yours.
- Fixing issues related to mobile usability and AMP pages.
- Exploring metrics for page load speed and page experience.
- Submitting manual requests for URL removals from the Google index.
In short, GSC is an essential tool for consulting and managing your website’s performance in search results. Now, let’s move on to how you can integrate GSC with your WordPress site using Yoast SEO.
How to integrate Google Search Console with your WordPress site?
To start using Google Search Console on WordPress with the help of Yoast SEO, you must complete three steps:
- Installing and activating Yoast SEO.
- Adding your site to GSC.
- Verifying that you own your site’s domain.
All you need to integrate GSC with your WordPress site using Yoast SEO is basic computer skills, so it shouldn’t be difficult to follow along. Let’s get into it.
Step 1: Install Yoast SEO
Yoast SEO is the most popular SEO plugin, simplifying many search engine-related solutions. Let’s start the process by installing it.
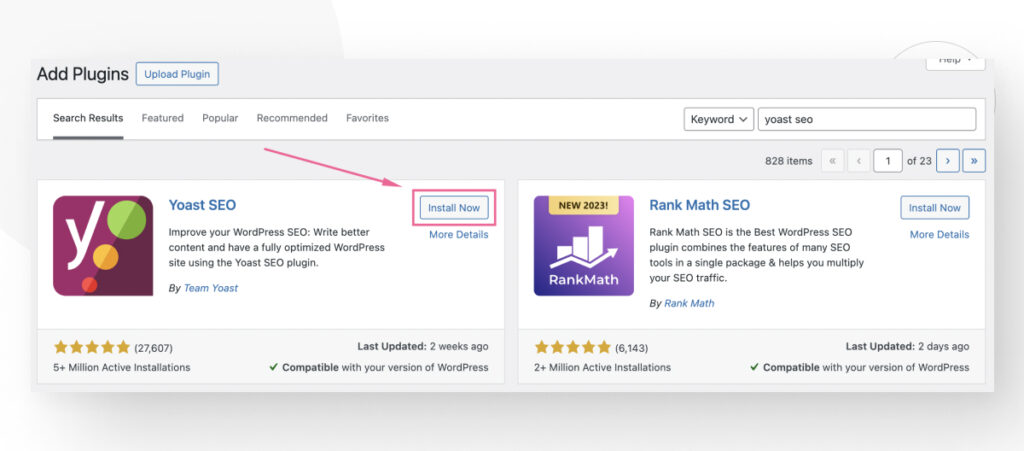
From your dashboard, go to Plugins > Add Plugins and search “Yoast SEO.” Click Install now. Once installed, click on Activate.
For now, this is the only step you need to take in your WordPress site, so just leave your dashboard open in a browser tab.
Let’s set up Google Search Console in a different tab.
Step 2: Add the site’s property to Google Search Console
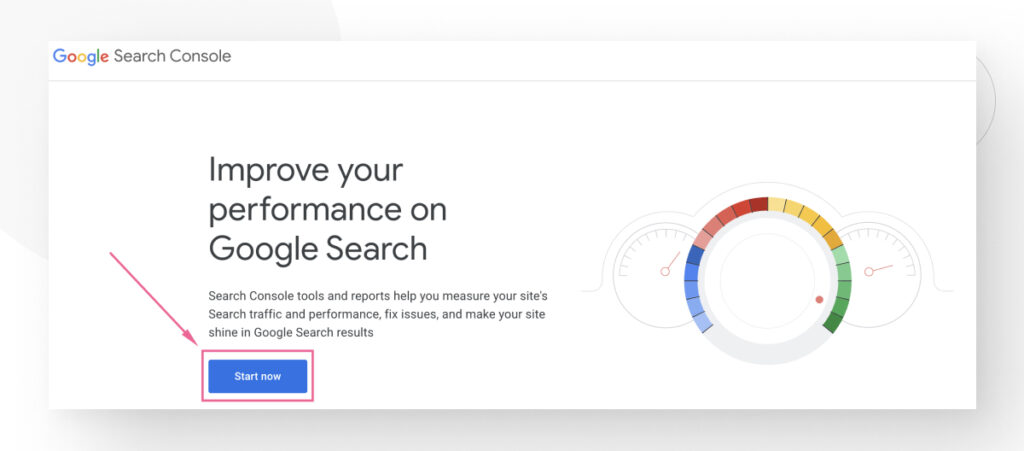
You will first need a Gmail account for this step. Once you have it, it’s time to create a property in GSC. Visit this link and click on Start now.
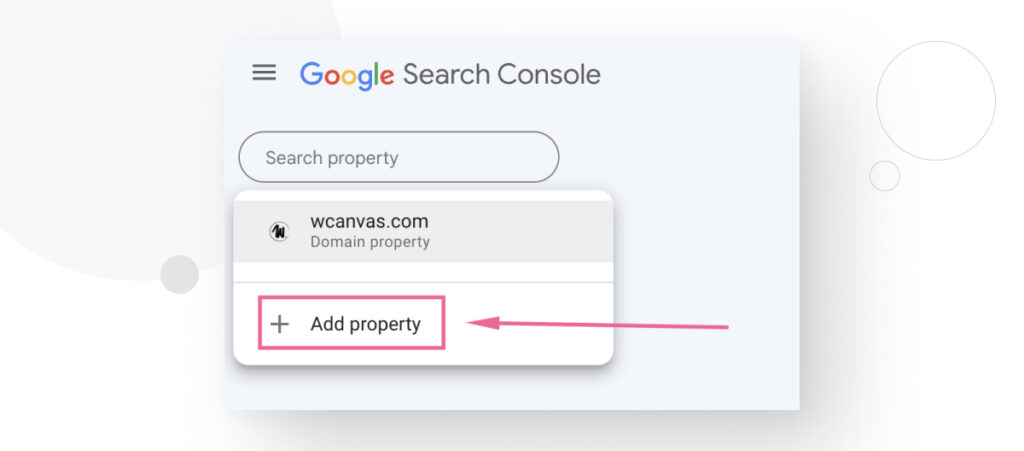
On the top-left corner, click on Search property and select Add property from the dropdown menu.
The GSC “property” typically refers to a specific instance of your website that you want to track and manage within the platform. Depending on how you configure your integration, this property may contain all URLs within your site’s domain or only some of them.
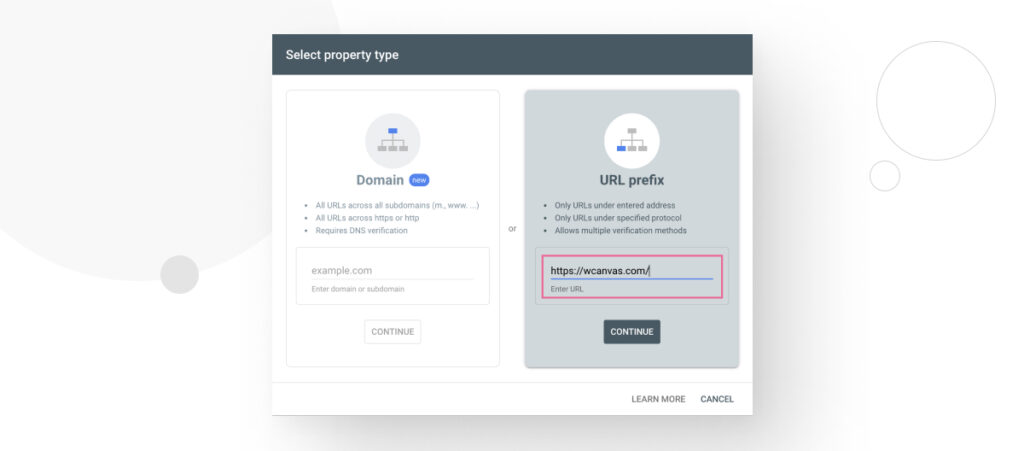
To configure it, choose between two property types: URL prefix and Domain.
The “Domain” property
If you select the Domain option, you’ll integrate GSC with all instances of your website, including all URLs, subdomains, and protocols (HTTP and HTTPS). For this option, you must add your domain’s web address. E.g., wcanvas.com. While this option includes every version of your site, it also requires verifying ownership via DNS records using your web hosting control panel.
For this reason, we’ll use the URL prefix option in this guide. It’s the easiest way to verify your property since you only need to use Yoast SEO.
Configure the “URL prefix” property
Paste your domain’s home page URL (e.g.: https://wcanvas.com/) in the text box and click Continue. Remember to include the “/” at the end of the address. To avoid mistakes, we recommend you copy the address displayed by the browser when on your site’s front page. You won’t be able to change the address later, so ensure it’s correct.
The main drawback of the URL prefix option is that it only includes URLs under the specific web address and protocol you entered. For example, if you enter http://your-site.com, you’ll integrate your main domain and all its paths but will not integrate the HTTPS version of your site. Conversely, entering the HTTPS version of your site ignores the HTTP version.
Additionally, if you enter a subdirectory or subdomain with a specific protocol (such as http://your-site.com/blog/), you’ll only be able to manage the URLs inside the /blog subdirectory in the HTTP version of your site.
If you’re unsure of which version of your site you should enter, you can ask your hosting provider. A good starting point is simply using the URL in your site’s home page, as we do in this guide.
Step 3: Verify the property
Regardless of the property type you use, the next step is verifying you own the website to complete the integration.
Step 3.1: Copy the HTML tag
After clicking on Continue in the previous step, you’ll be prompted with various options to verify you own the site. To do it, you’ll need to copy an HTML snippet and paste it into your home page’s HTML code.
However, since many people don’t know how to manage HTML, Yoast SEO simplified the process by allowing you to paste the snippet into a simple text box. The plugin takes care of all the technical stuff for you.
Scroll down and click on the HTML tag dropdown. You will see two instructions explaining the process we just described and a text box with the HTML snippet you need to paste into your site. Press Copy.
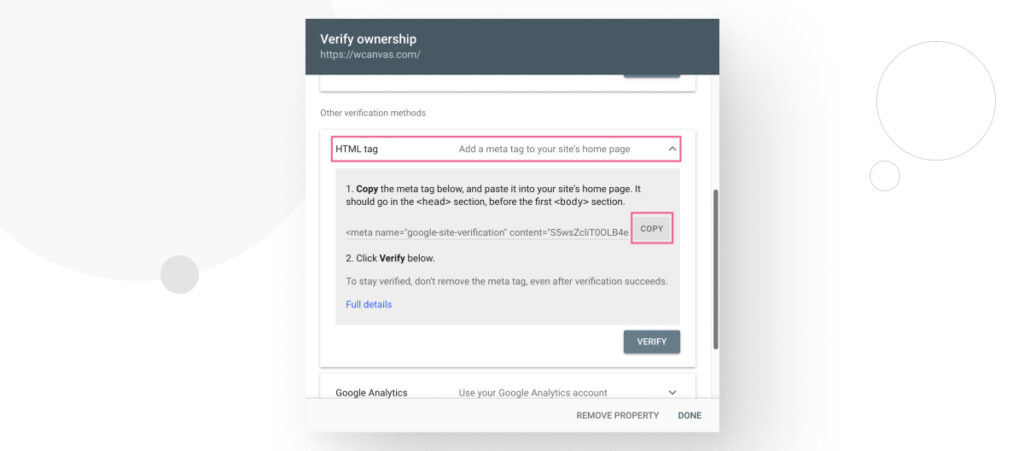
The copied text will look something like this:
<meta name="google-site-verification" content="your verification code">Leave the GSC tab open for now and switch back to your WordPress dashboard.
Step 3.2: Paste the tag on your site using Yoast SEO
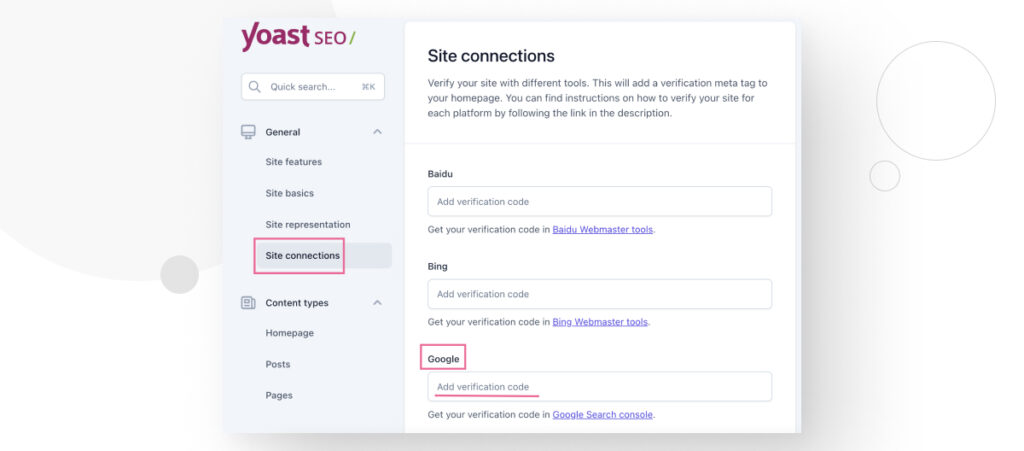
Go to your WordPress dashboard. On the left-hand sidebar, go to Yoast SEO > Settings.

Now, you’ll see various Yoast SEO configurations. Click on Site connections. There will be multiple text boxes to verify your site using different tools, including Bing, Pinterest, and Google. Paste the HTML snippet on the text box labeled Google.
Step 3.3: Complete verification
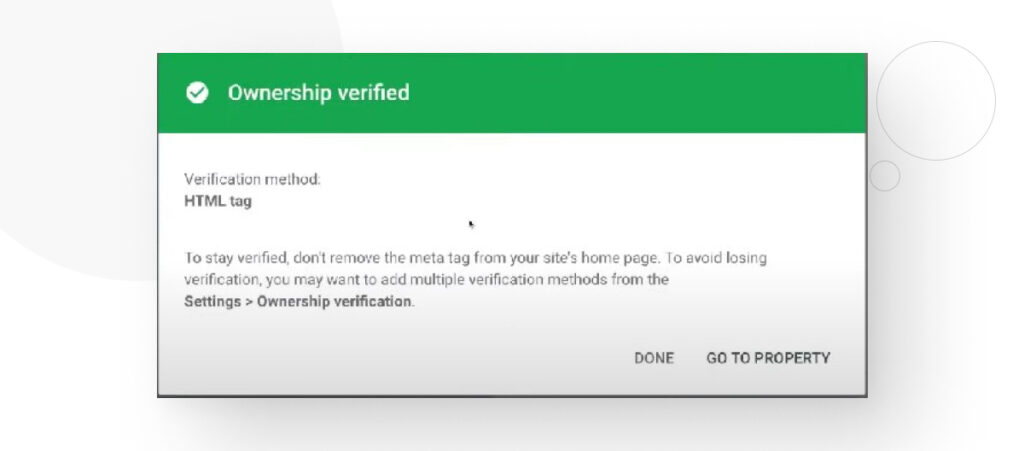
To complete the process, return to the GSC tab and click Verify.
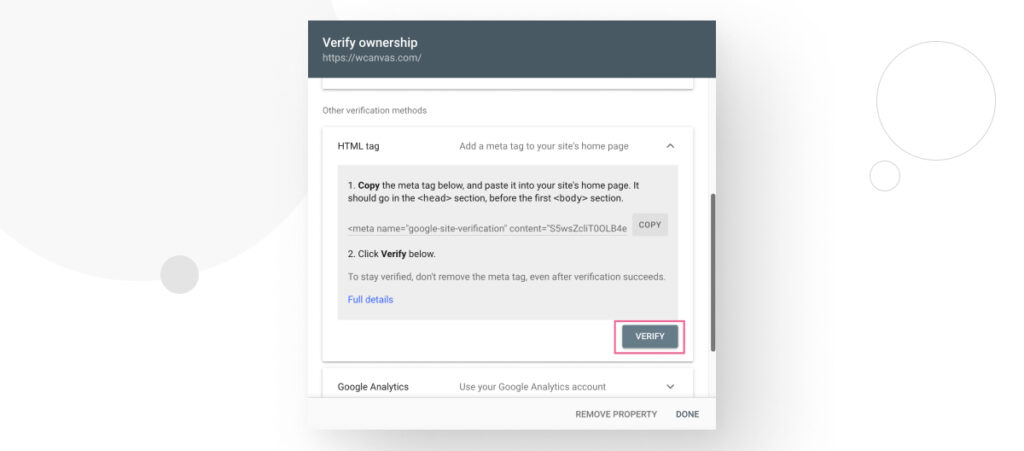
If you followed the steps correctly, you will see a message indicating the setup was successful.
And that’s it! You are now ready to set up your robots.txt file and submit your sitemap to Google, two essential steps to appear in search results. To submit your sitemap using Yoast SEO, follow the steps in this blog post. And to set up your robots.txt file, follow these steps.
Google Search Console supports your site’s SEO
Google Search Console is the most comprehensive free tool to keep you updated on your site’s indexing status, helping you interpret and improve its search result performance.
As WordPress developers, GSC is invaluable for improving your site’s visibility metrics. If you plan to make a business out of your website, you must familiarize yourself with Google Search Console and get the most out of it.
If you found this post useful, read our blog for more WordPress guides and insights.
📬 Get WordPress updates to your inbox
Sign up for WC Blog updates and never miss a post!